Trusted Certificates for Private Servers - Part 1
Caddy is an excellent piece of software. With just a couple of lines of configuration it can serve webpages and applications securely, with automatically provisioned TLS certificates.
For private, local-only servers it's a little trickier. In part one of this series, I'll show you how to generate self-signed, untrusted certificates for your private server. In part two, I'll go over how to use public DNS to get trusted certificates issued by Let's Encrypt for your internal servers, instead.
Public Websites
With this small snippet of configuration, Caddy will start a publicly accessible, TLS-encrypted static webserver.
mikecoats.com {
    root * /srv/mikecoats.com
    file_server
}
A slight tweak to the config, and it will reverse-proxy web apps and secure them with HTTPS connections, too.
next-trains.mikecoats.xyz {
    reverse_proxy :8007
}
It's able to do this as it's automatically completing the ACME HTTP-01 challenge for you; proving to Let's Encrypt that you're in control of the server behind the domain. Where it gets tricky is services and servers that are not publicly accessible.
Private Servers
If you use bare hostname names like https://wallabag/, or non-standard or non-routable ones like https://roundcube.example.internal/, Let's Encrypt won't be able to look up your server's IP address in the global DNS.
If you assign local IP addresses to your hosts in the global DNS, Let's Encrypt also won't be able to connect to Caddy to complete the HTTP-01 challenge.
$ nslookup miniflux.example.network
Server:		192.168.300.1
Address:	192.168.300.1#53

Non-authoritative answer:
Name:	miniflux.example.network
Address: 192.168.300.2
Self-signed Certificates
The naive, manual approach is to try out self-signed certificates.
A self-signed certificate is one which has no further authority to rely upon to vouch for its legitimacy. This means that you're likely to encounter warnings and errors unless you take some extra steps to convince your browsers and devices to trust it.
To get started, this "single" openssl command will create you a self-signed certificate and key. I say it's a single command, but it's actually doing many steps in one. It creates a new key that can be used by the server to sign traffic. It then takes a few intermediate steps to request and sign a certificate with that key. Finally, it outputs everything into our Caddy configuration directory.
$ sudo openssl \
  req                               `# Request a new certificate.` \
  -x509                             `# Output a certificate, not a request.` \
  -newkey rsa:4096                  `# Create a new key at the same time.` \
  -keyout /etc/caddy/www.key        `# Save it somewhere for later.` \
  -nodes                            `# Dont password protect the key.`  \
  -out /etc/caddy/www.crt           `# Save the certificate next to the key.` \
  -sha256                           `# Choose a specific hash for the digest.` \
  -days 3650                        `# Make the certificate valid for 10 years.` \
  -subj "/CN=www.example.internal"  `# This is your FQDN.`
We also need to make sure that Caddy can read the certificate and key.
$ sudo chown caddy:caddy /etc/caddy/www.{crt,key}
One extra line of configuration in our Caddyfile is then all that's needed to serve a TLS encrypted, private website.
https://www.example.internal {
    root * /srv/www.example.internal
    file_server
    tls /etc/caddy/www.crt /etc/caddy/www.key
}
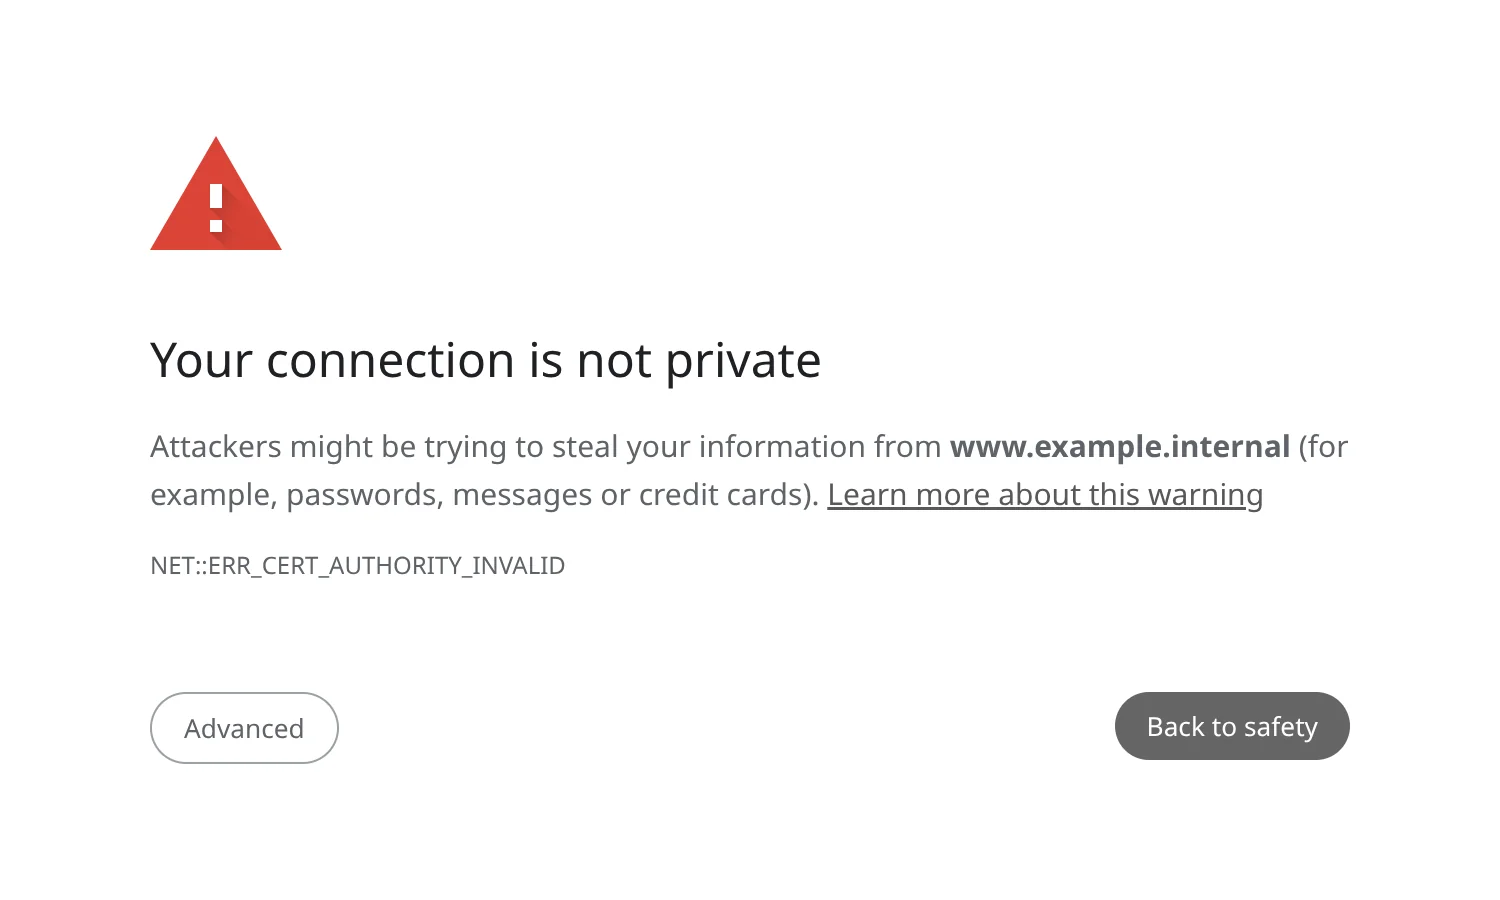
Since the certificate is self-signed, our browser cannot check with any higher authority to tell if the ownership of the server is correct and the security implied in the encryption is now dubious.
Every operating system and browser has its own way of trusting certificates, so you'll have to configure them manually. On Debian Trixie (and presumably other Debian derivatives), we copy the certificate to the system-wide certificate store and then tell the operating system to trust it.
$ sudo cp /etc/caddy/www.crt /usr/local/share/ca-certificates
$ sudo update-ca-certificates
To check that it's working, you can use a verbose curl call to access the website.
$ curl -v -L https://www.example.internal
# ...
* Server certificate:
*  subject: C=XX; ST=StateName; L=CityName; O=CompanyName; OU=CompanySectionName; CN=www.example.internal
*  start date: Oct 27 13:00:25 2025 GMT
*  expire date: Oct 25 13:00:25 2035 GMT
*  common name: www.example.internal (matched)
*  issuer: C=XX; ST=StateName; L=CityName; O=CompanyName; OU=CompanySectionName; CN=www.example.internal
*  SSL certificate verify ok.
*   Certificate level 0: Public key type RSA (4096/152 Bits/secBits), signed using sha256WithRSAEncryption
# ...
Now, you have to do that for every service you self-host, on every device you want to access it from. Accessing seven apps from seven devices means you've now got 49 certificate installations to maintain. Congratulations on your newfound hobby, being a certificate authority! Good luck remembering all the servers and services you need to set up certificates for the next time you upgrade your phone or get a new laptop.
Next time
In the next installment of this series, I'll show you how to bypass all the manual certificate generation and distribution and get trusted certificates for your private servers automatically.
2025-11-21