My Experience Using PCBWay for Sponsored Prototyping
This article includes sponsorship or links with referral codes which will earn me an affiliate fee. These are clearly marked with a 💵 symbol.
Earlier this year, Emily from PCBWay💵 reached out over Mastodon to say she'd seen my Spy! Break! Inject! boards for sale on Tindie and would love to offer some free PCB prototyping for my projects. I was delighted to be approached for this and jumped at the opportunity.
I was not paid for this post, but PCBWay did send me these boards and the stencil for free, and there are affiliate links to their services on this page.
If you look back over my posts, you'll spot one colour that's indicative of a certain US-based PCB house, and I've even gone as far as having my boards fully assembled by another manufacturer in China. I've never tried out PCBWay's services before, though, so I was excited to get started. I'd been working with the AT42QT2120 chip for capacitive touch sensors for a while now, so my Touchy Subject prototypes were a natural fit.

Ordering
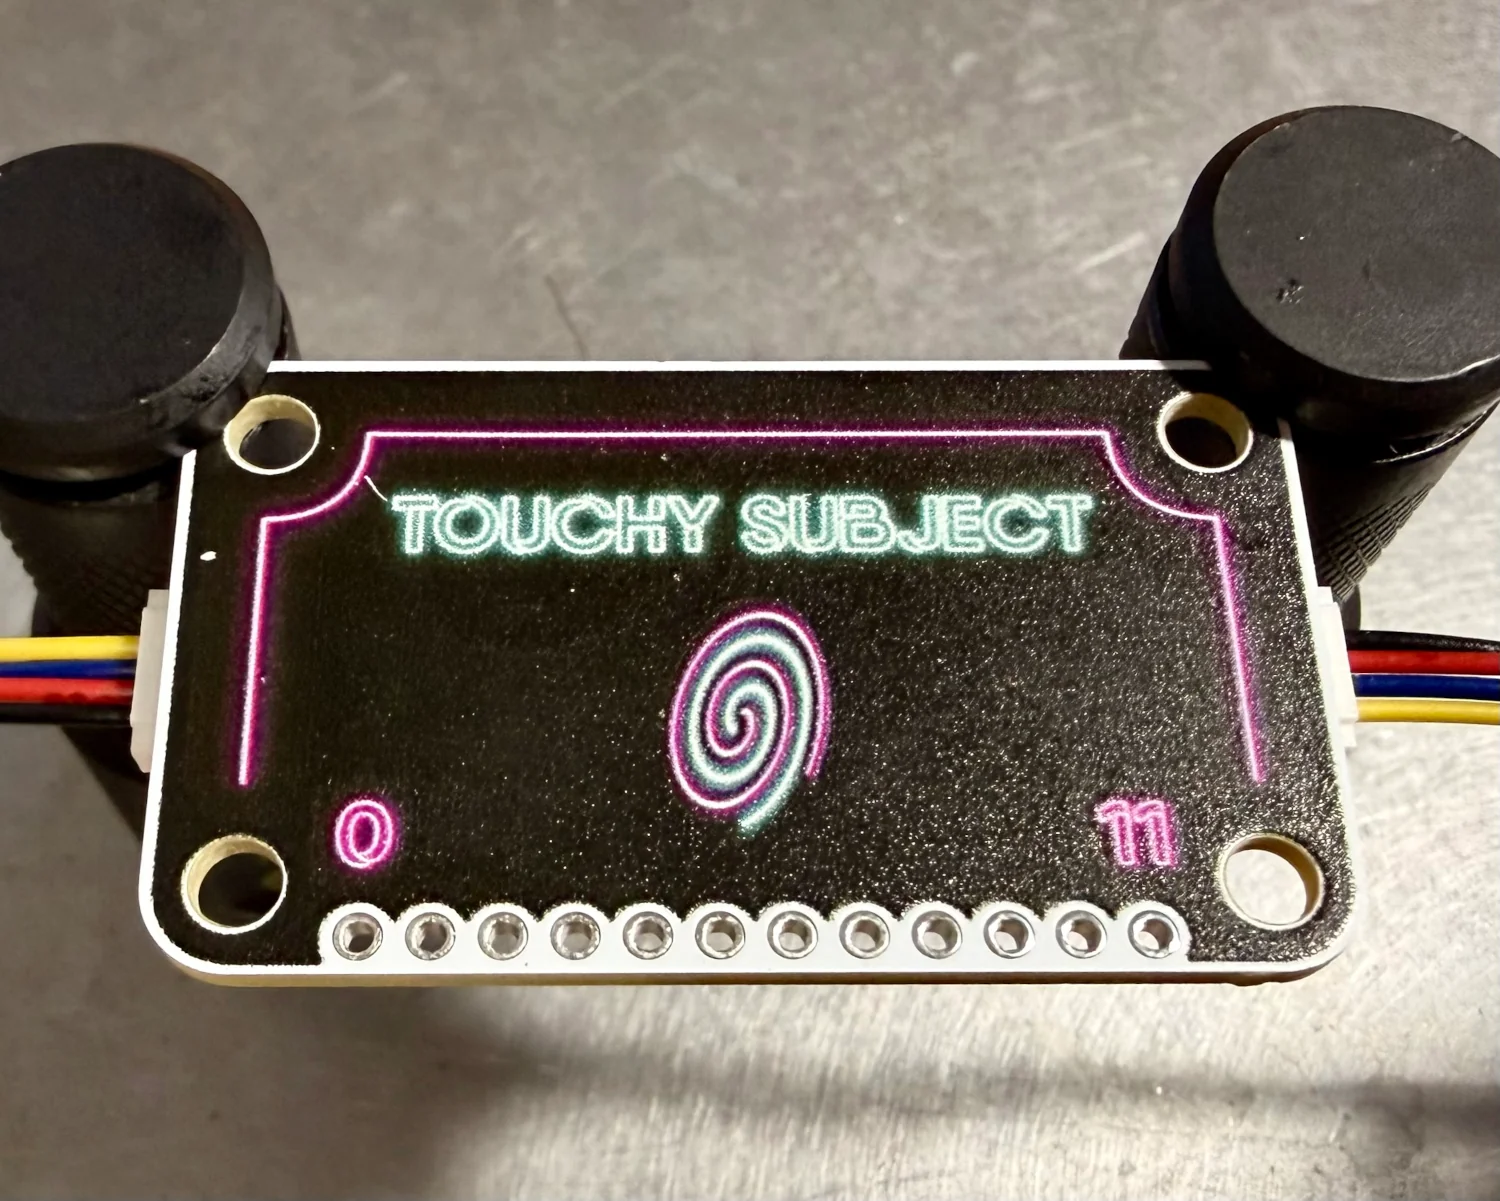
I really like PCB art and tech-y products where the form has as much attention paid to it as the function. Looking at PCBWay's silkscreen colours, the bright pink really stood out to me as a good start for a stand-out design. It's listed under their "Advanced PCB" options, and not wanting to be cheeky and just assuming I could upgrade my free boards to their premium tier, I checked with Emily first. She did me one better and pointed me towards their full-colour UV printing service, which looked great.
That did mean I'd have to crack out the design tools and make something decent enough to be printed. A quick session in Inkscape and I had a "neon" glow effect that should put their process to the test.
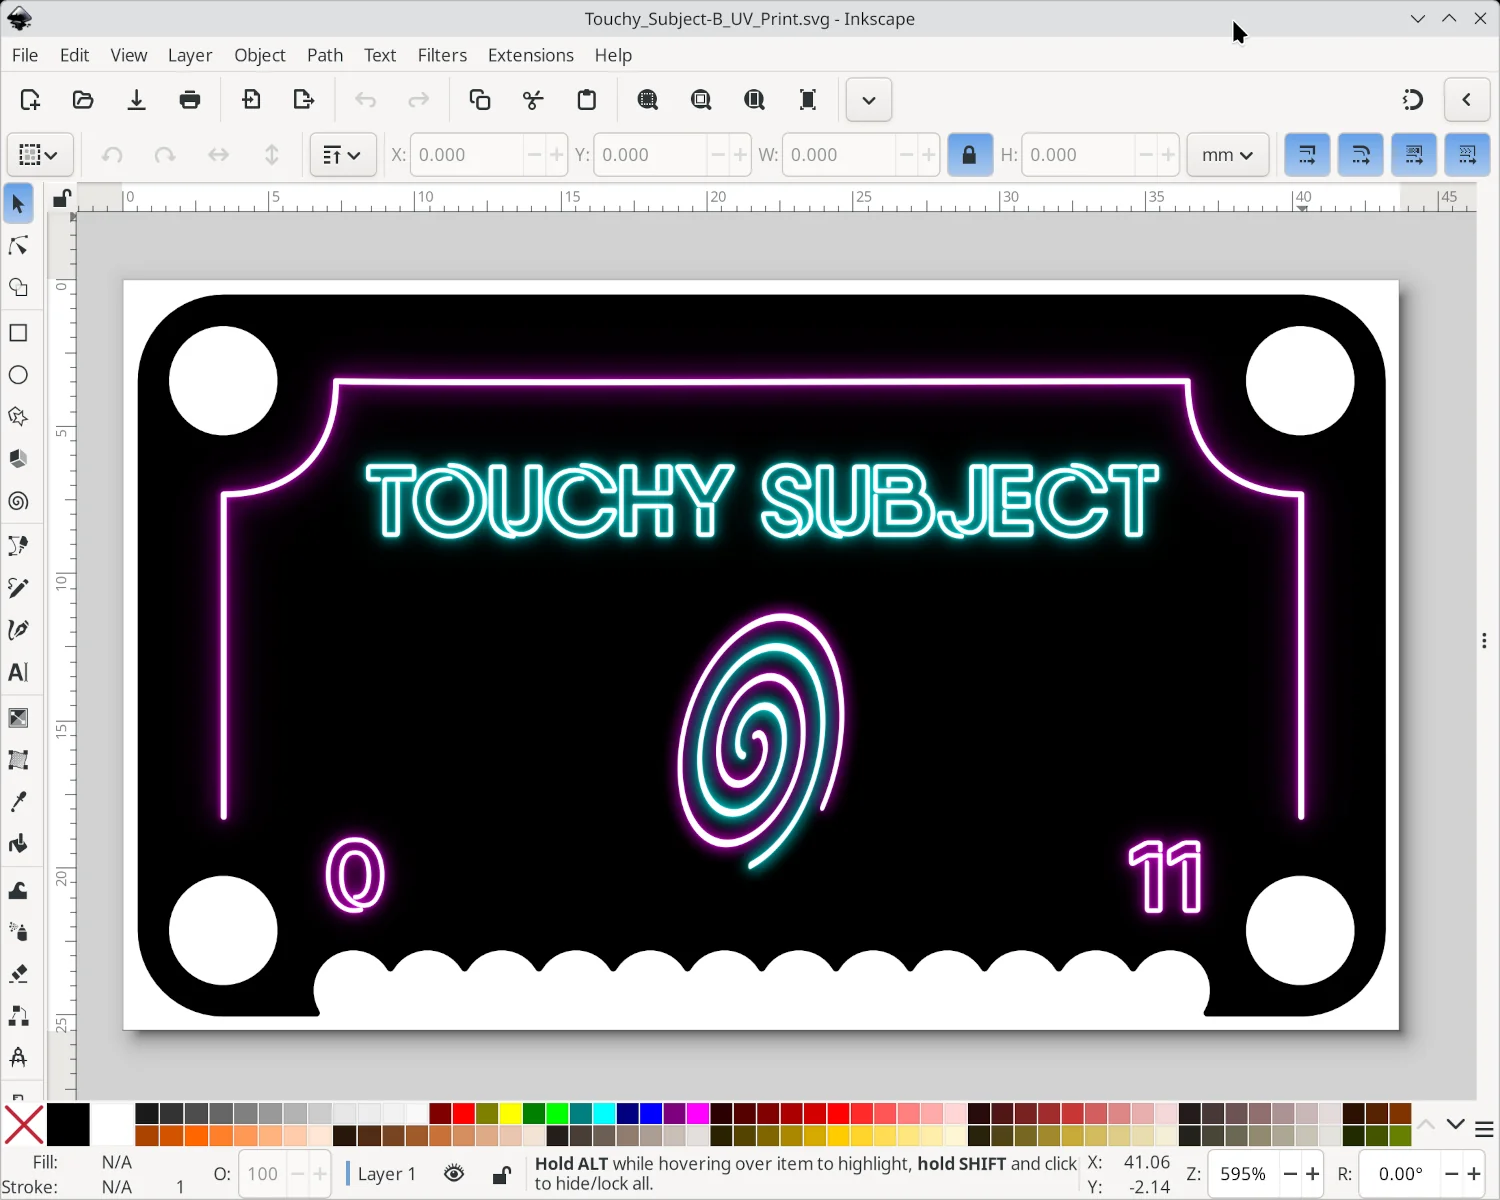
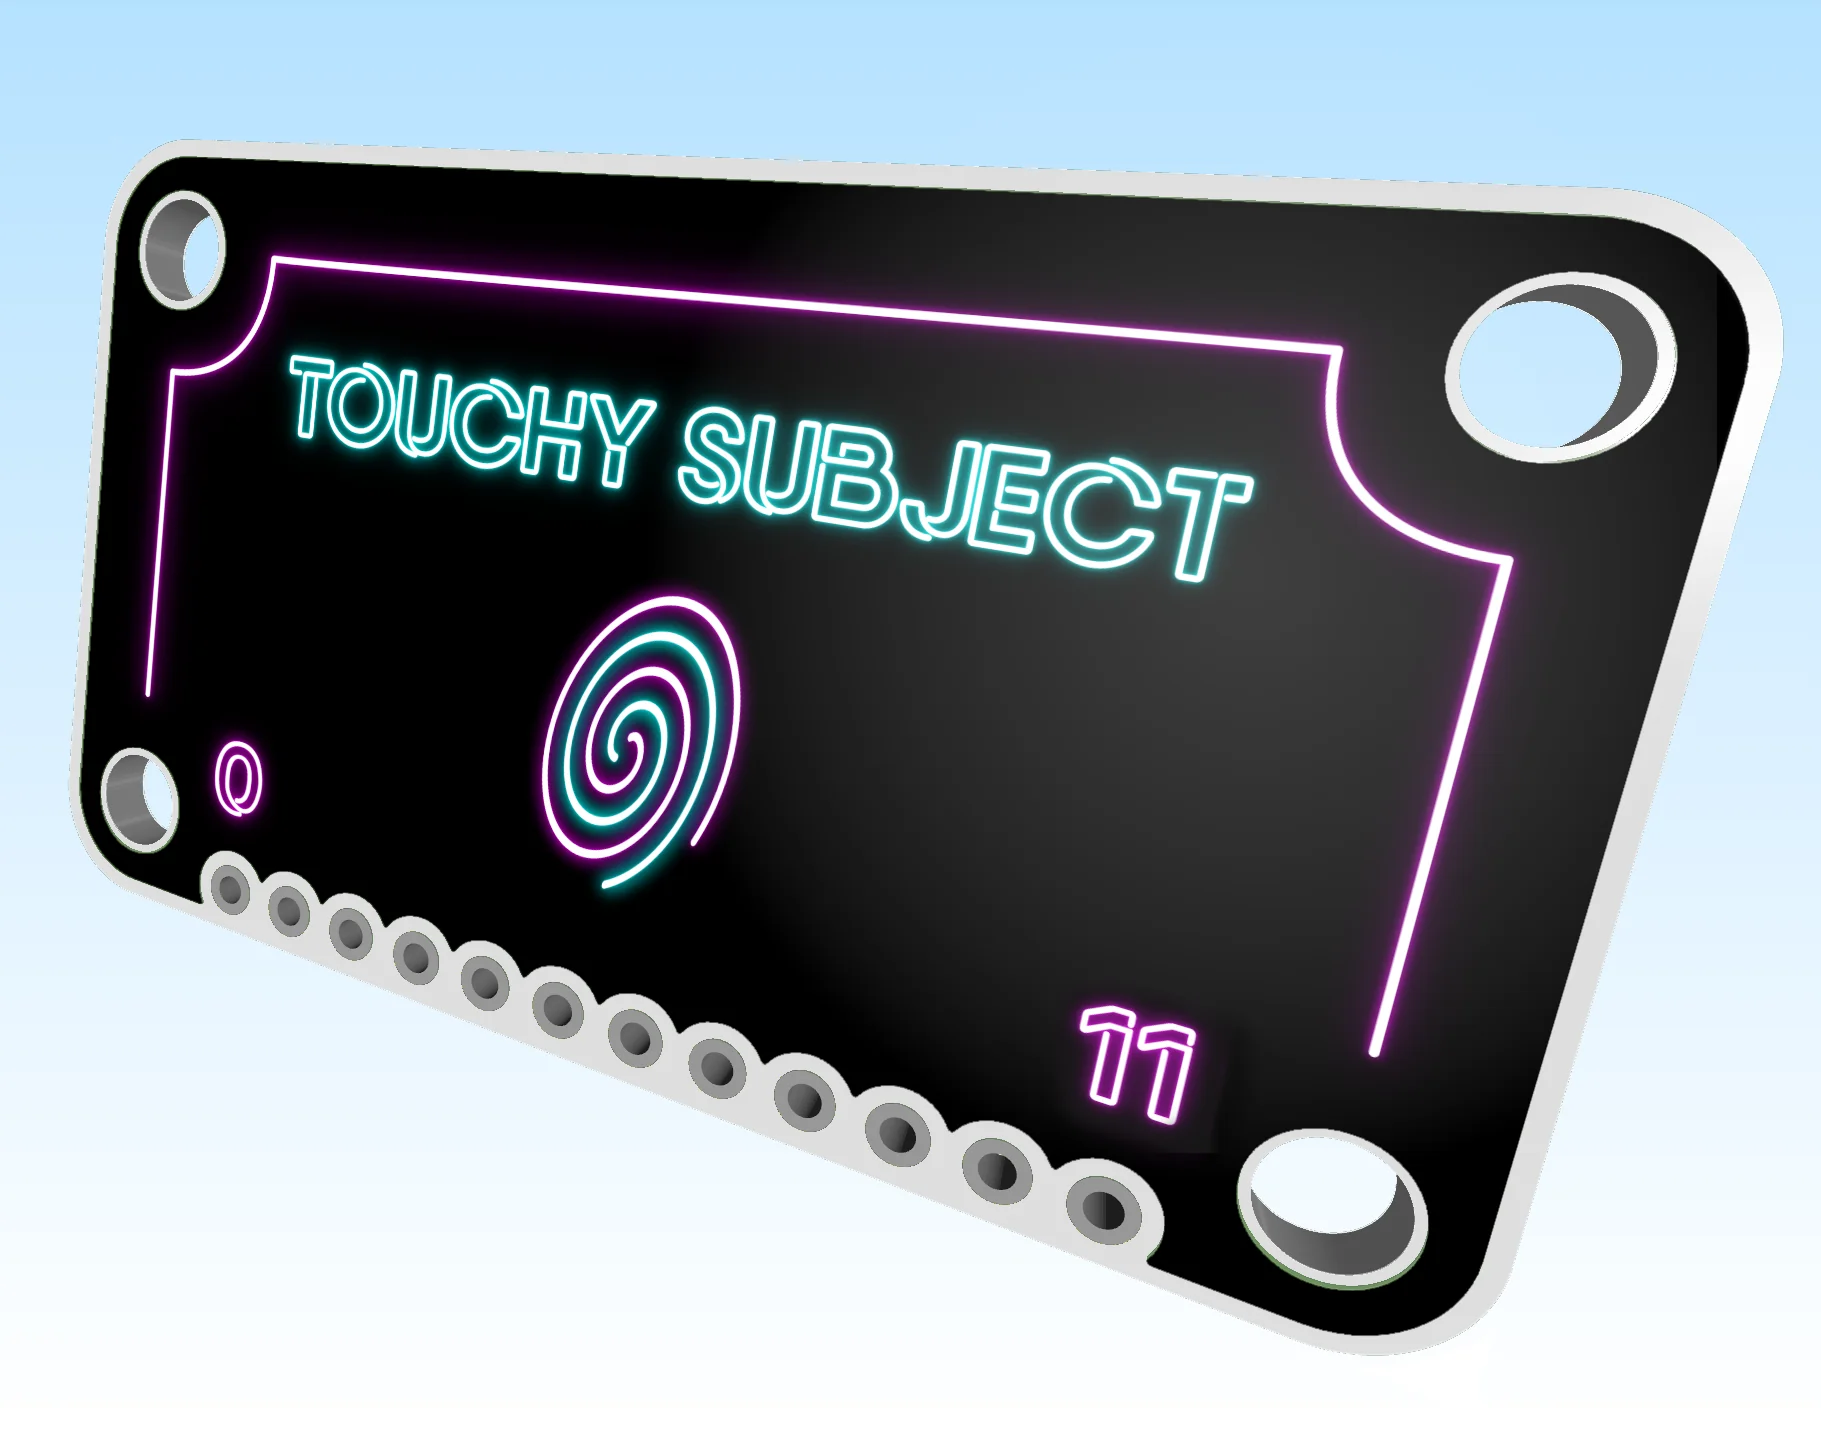
To ensure accurate alignment of my artwork on the boards, I overlaid the design on one of KiCAD's 3D renders, making sure to show the deliberate white gap around the edge of the artwork. I used PCBWay's Plug-in for KiCAD to make sure I sent them all the right files and intercepted their zip file to add the artwork and 3D render before sending it to them.
I was unreasonably excited when a day or so later I received an email from PCBWay asking me to confirm the artwork placement. I love things like this! Behind-the-scenes peeks into factories half-the-world away suddenly make you realise the virtual project you've been working away on for weeks is going to be a reality.
Delivery day!
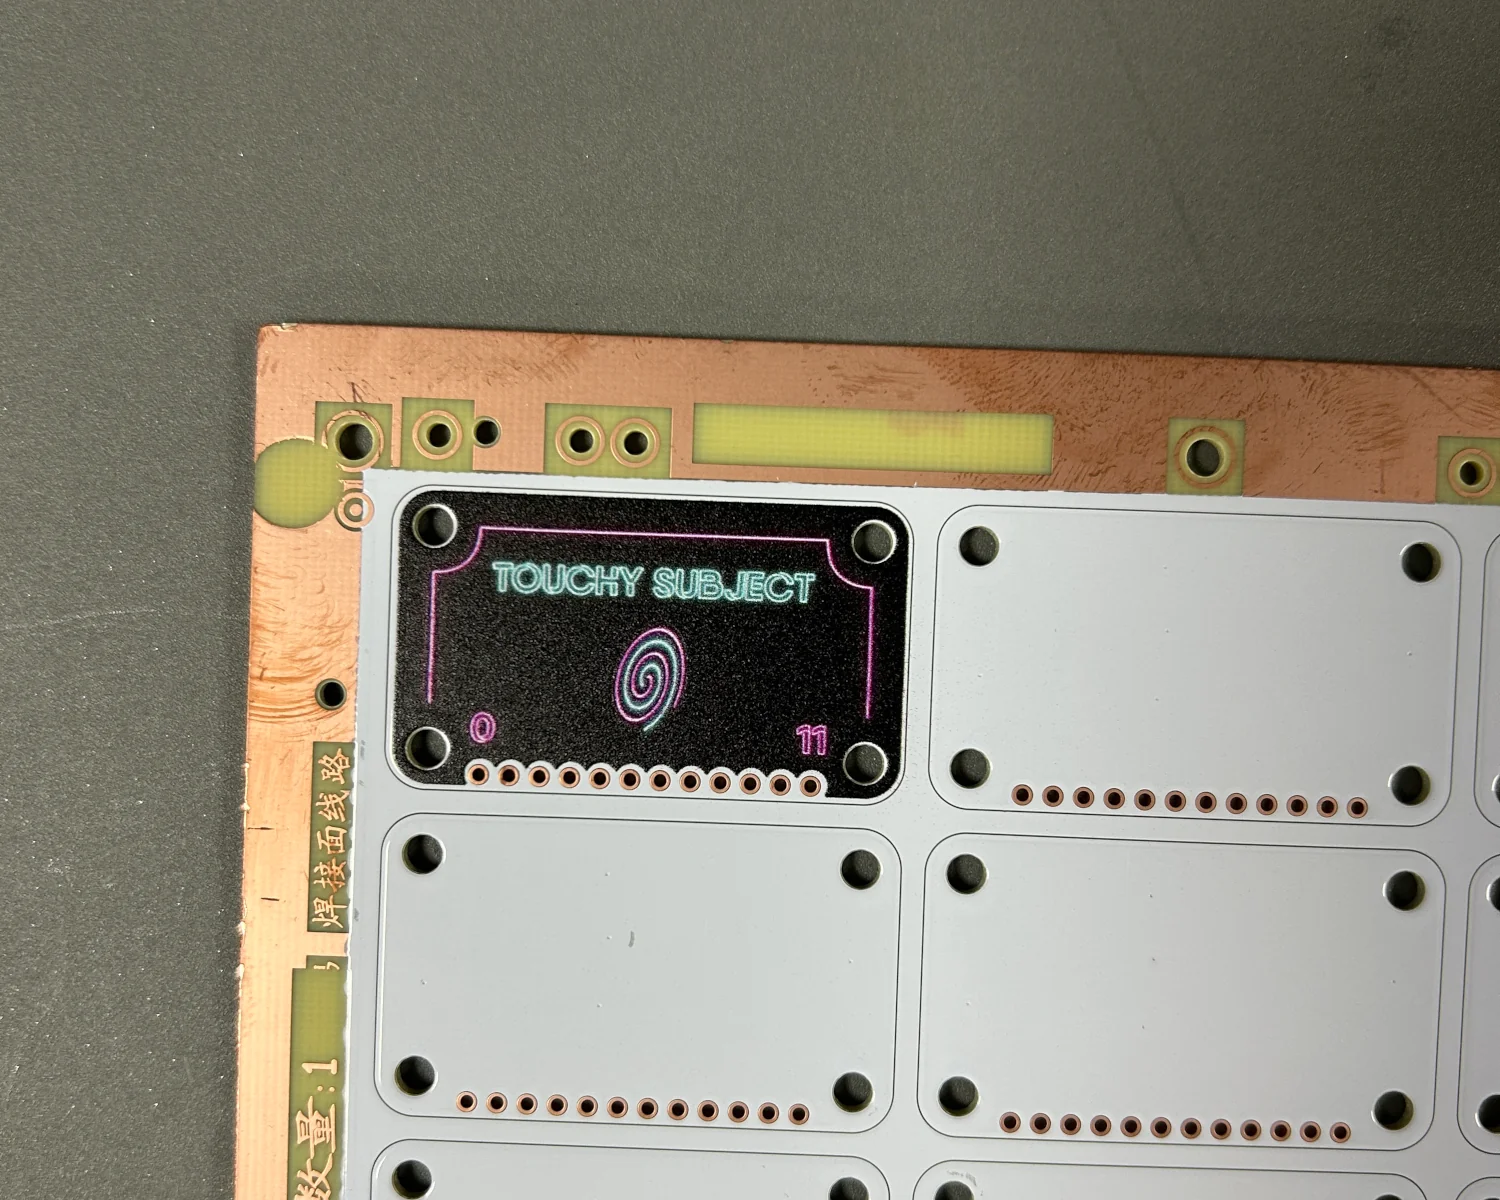
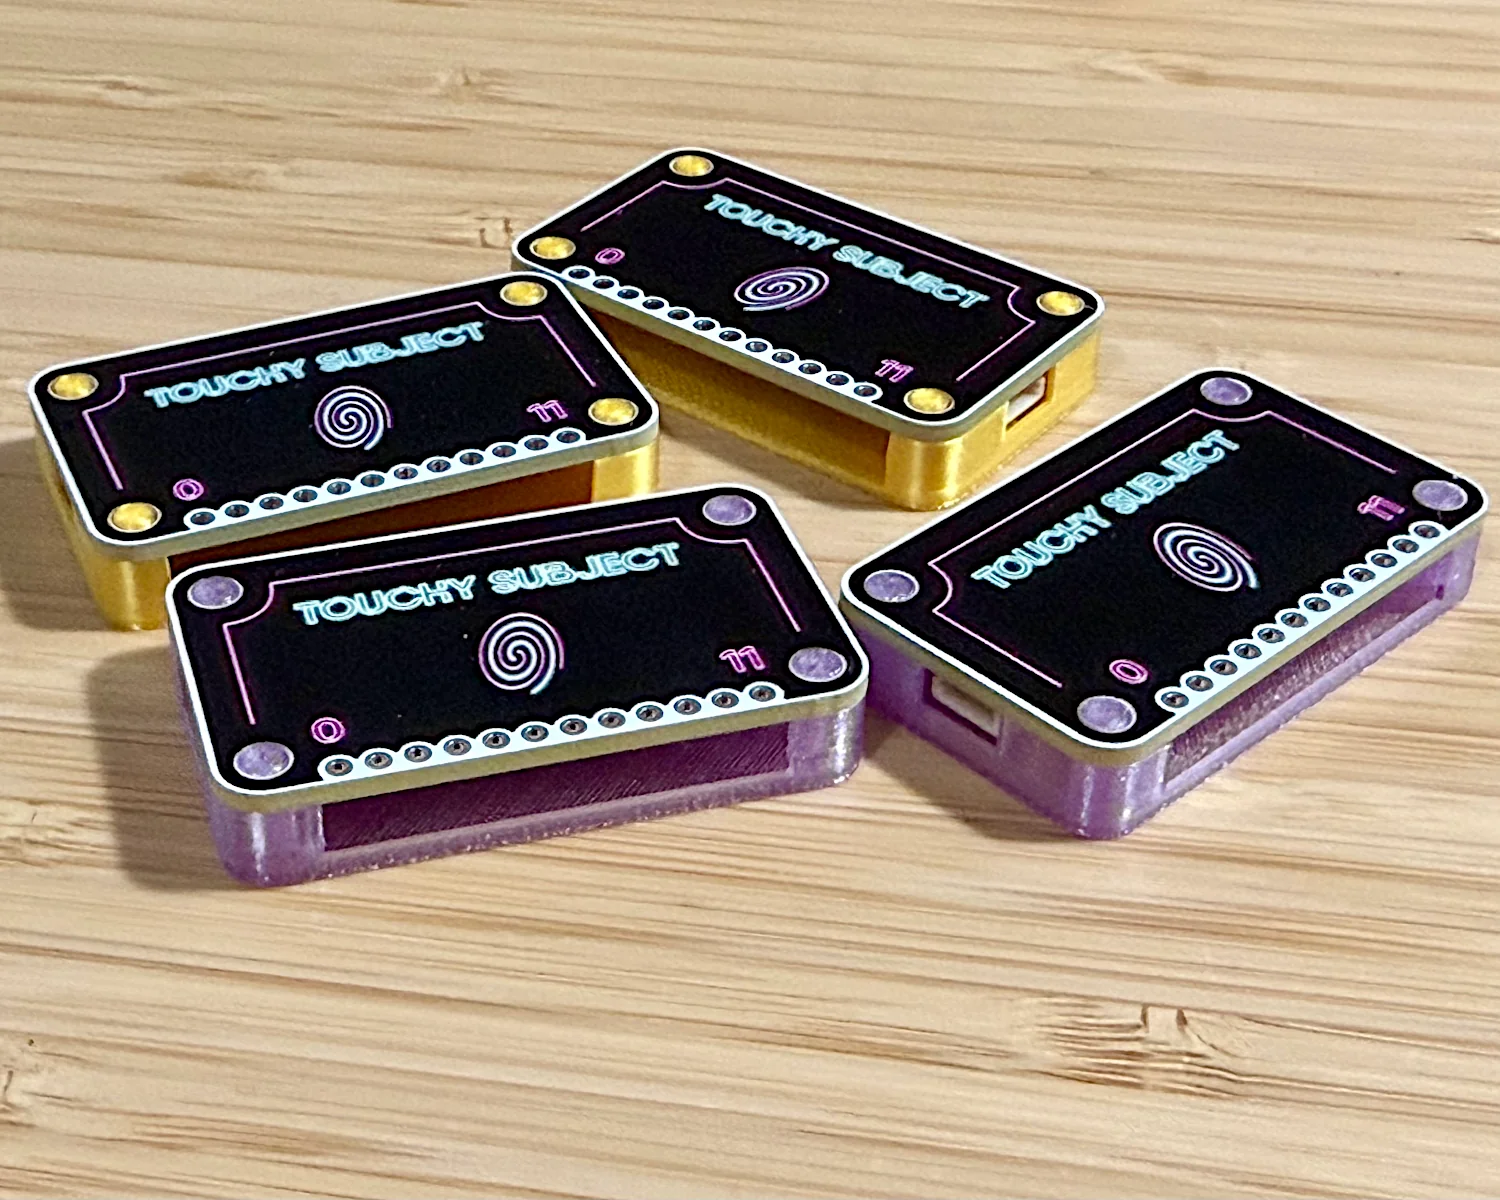
When I received the boards, I was surprised to find that they were individual PCBs, already split from their panel. I thought I'd ordered the boards as a "Panel by Supplier" as I hoped this might make my final assembly easier, given there would be a wider surface to place the stencil on.
After my confusion passed, I realised any benefit I'd have gained from handling the boards as a single panel would be lost by the time taken aligning the stencil over every board. Instead, I picked up a set of Nikki Smith's PCB MultiJigs which you can buy on eBay💵 for just a few pounds and used some strong tape to turn it all into a mini assembly line.
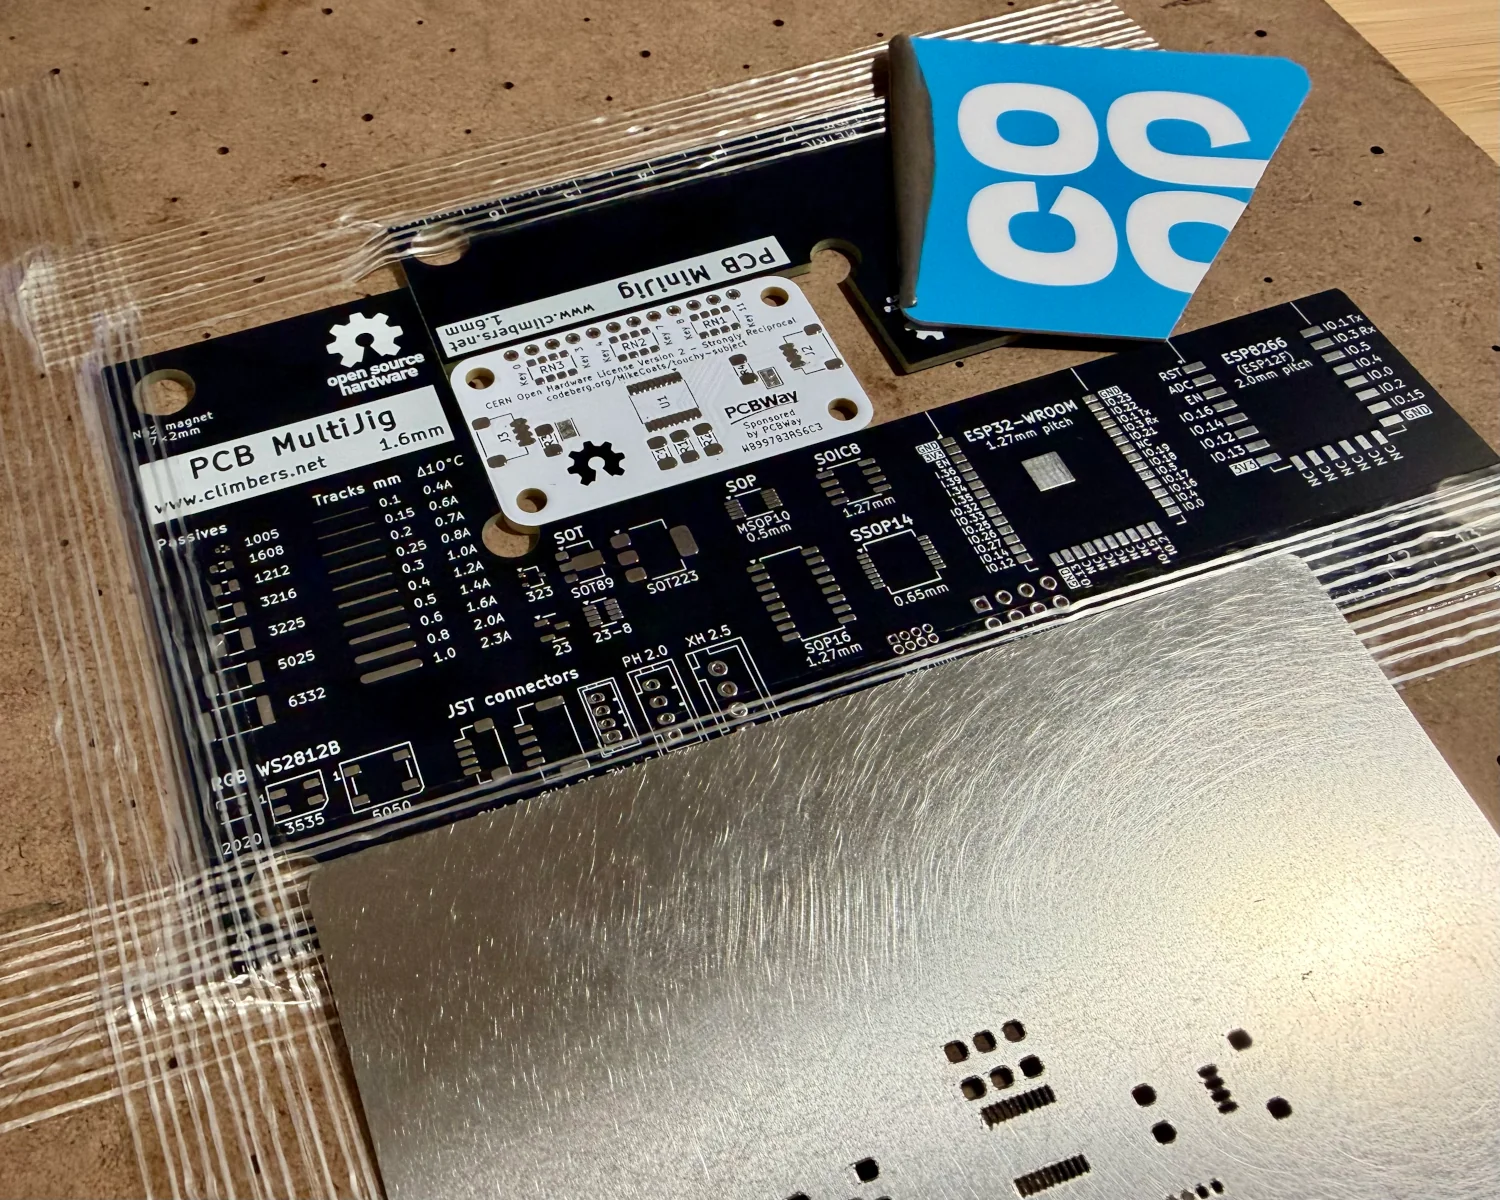
I was able to drop the boards into place, flip the stencil over and apply the paste with a simple swipe. Accurate, repeated application of the paste meant I could batch produce several boards at a time and then pop them on the hotplate to solder them each together.
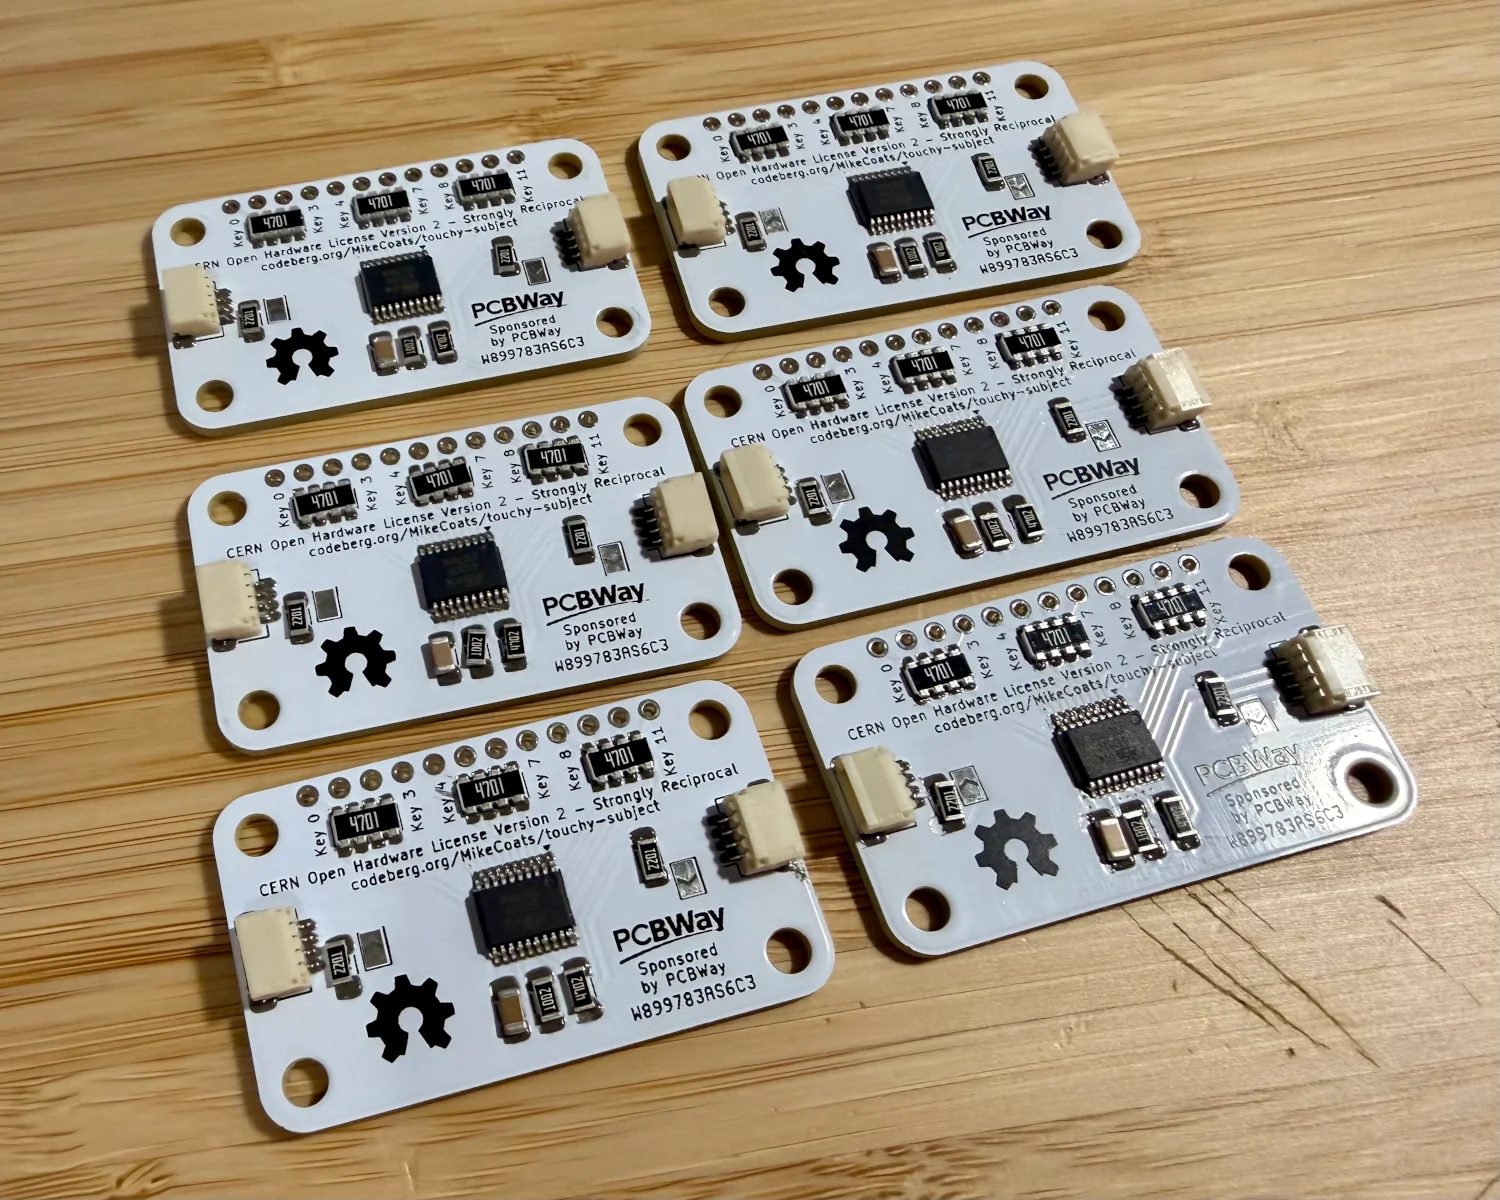
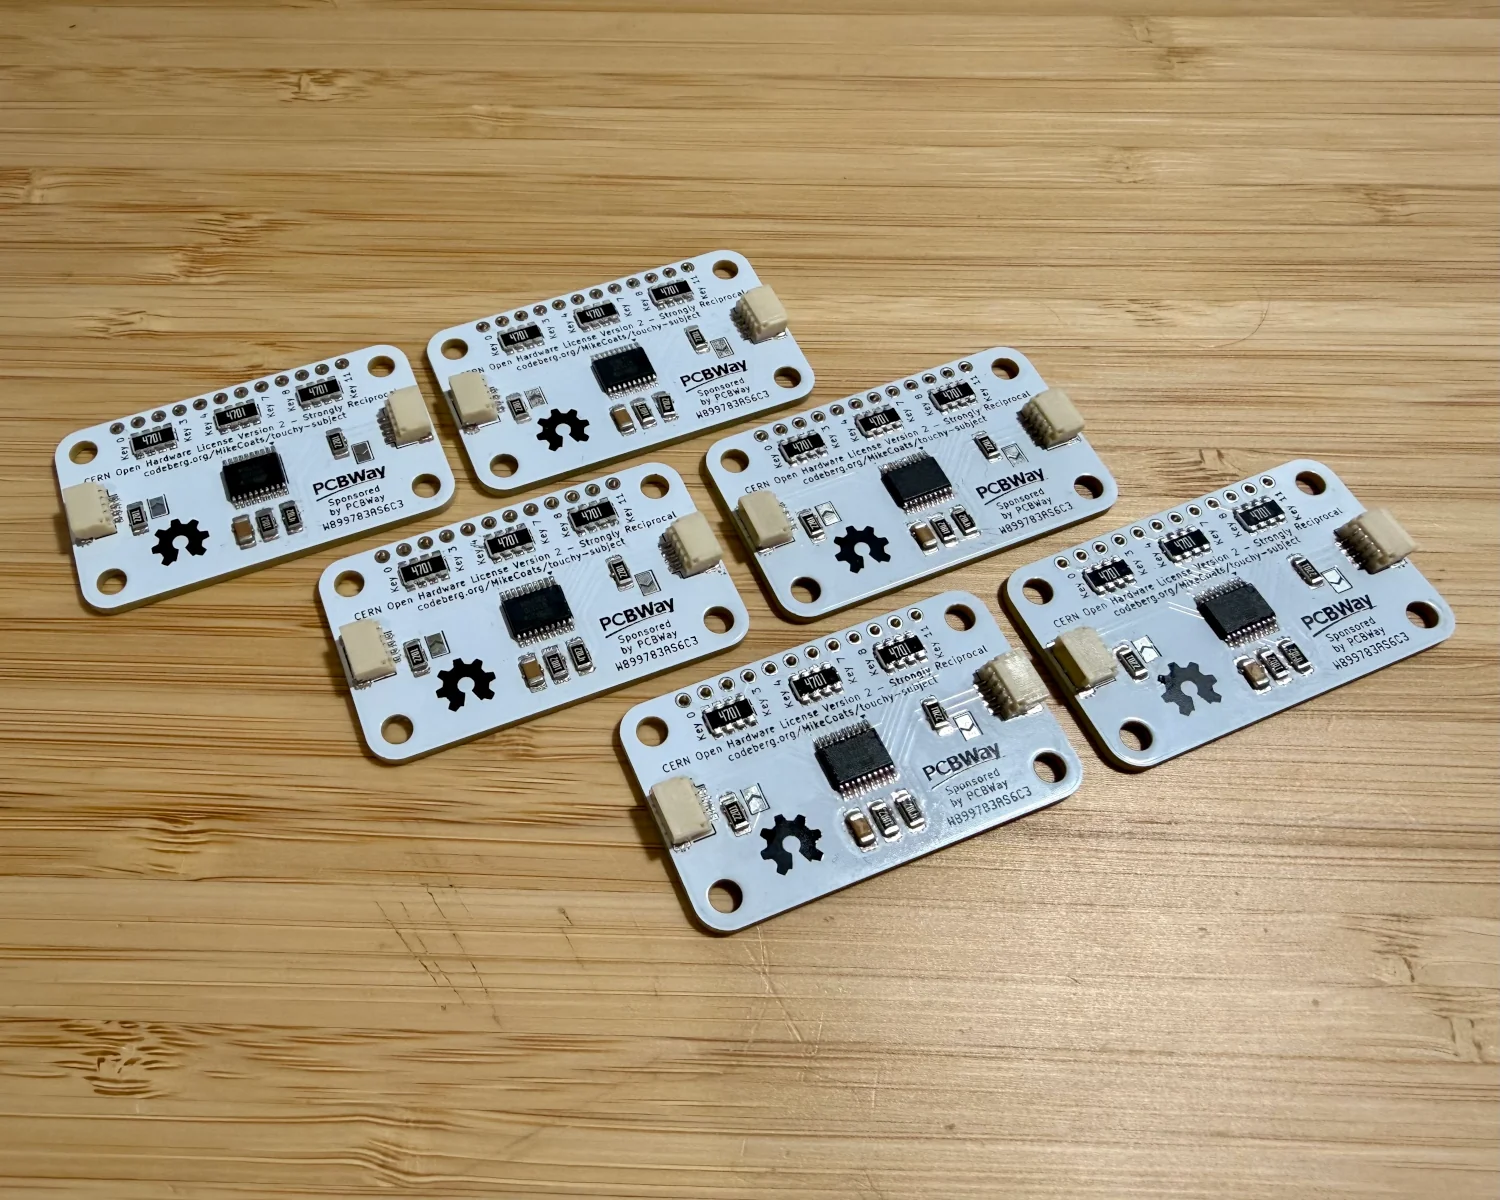
Five minutes later and I had six fully assembled boards. I deliberately left the I2C pull-ups' solder jumpers disconnected as these resistors are really user (and bus and microcontroller) dependent.
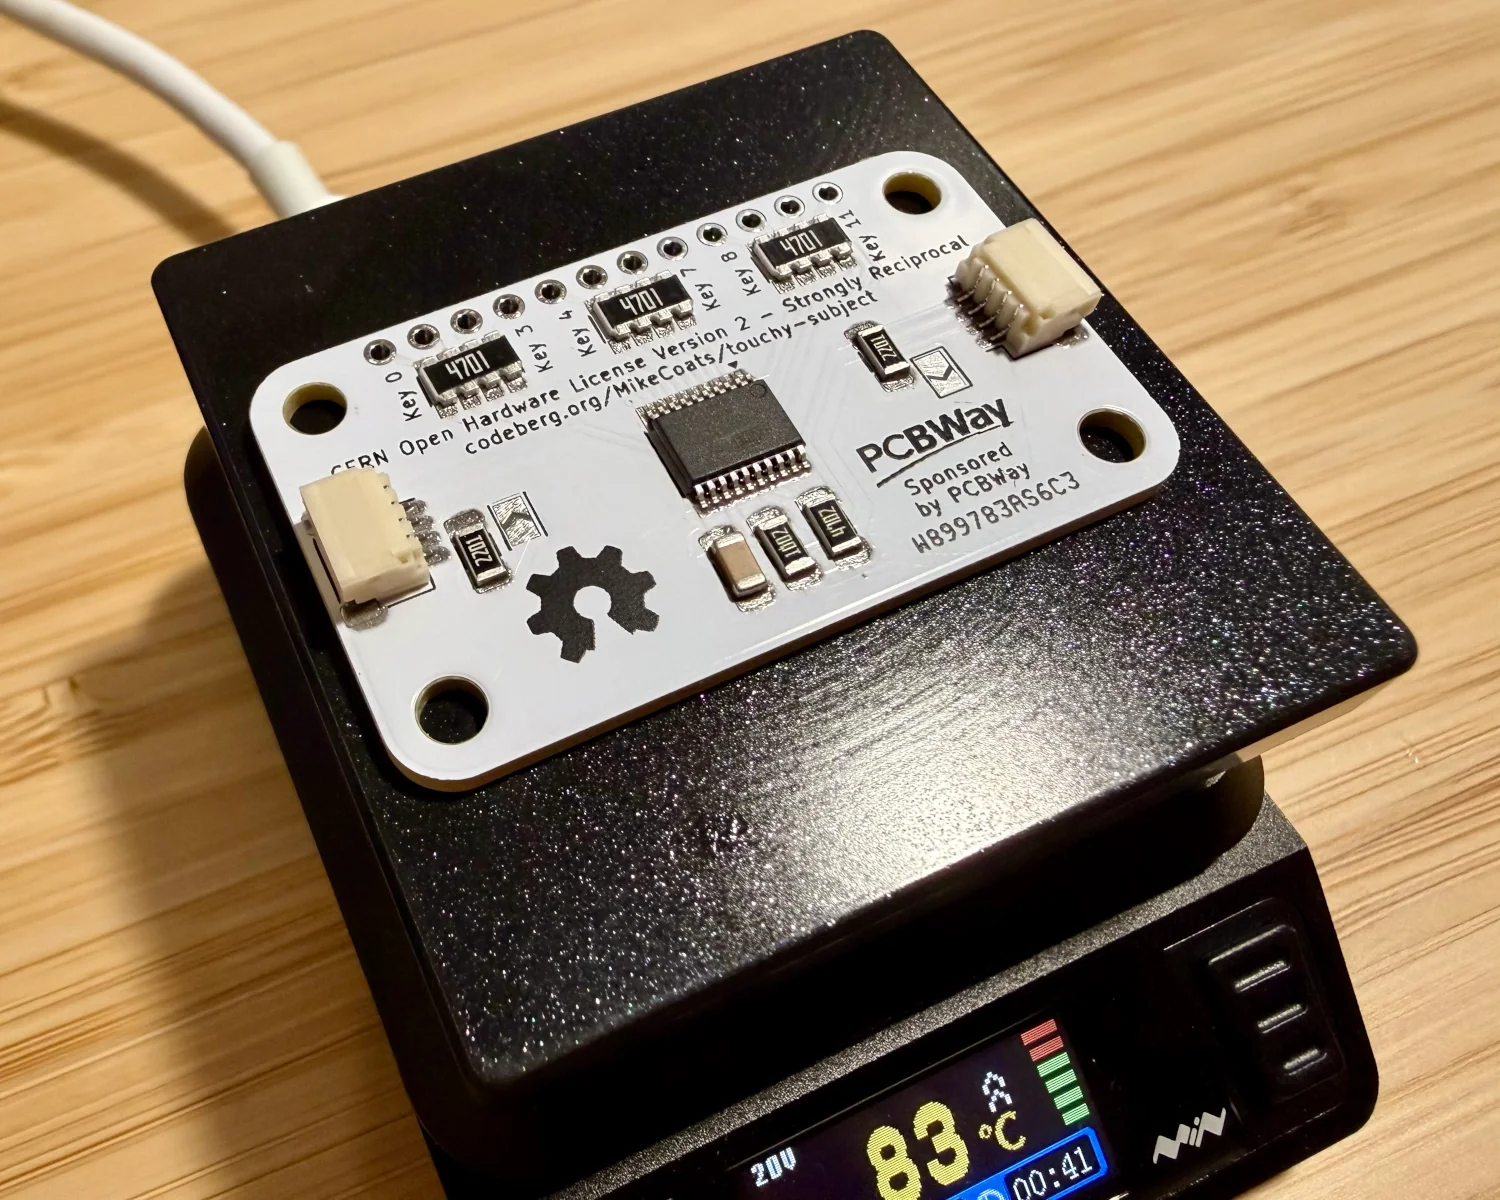
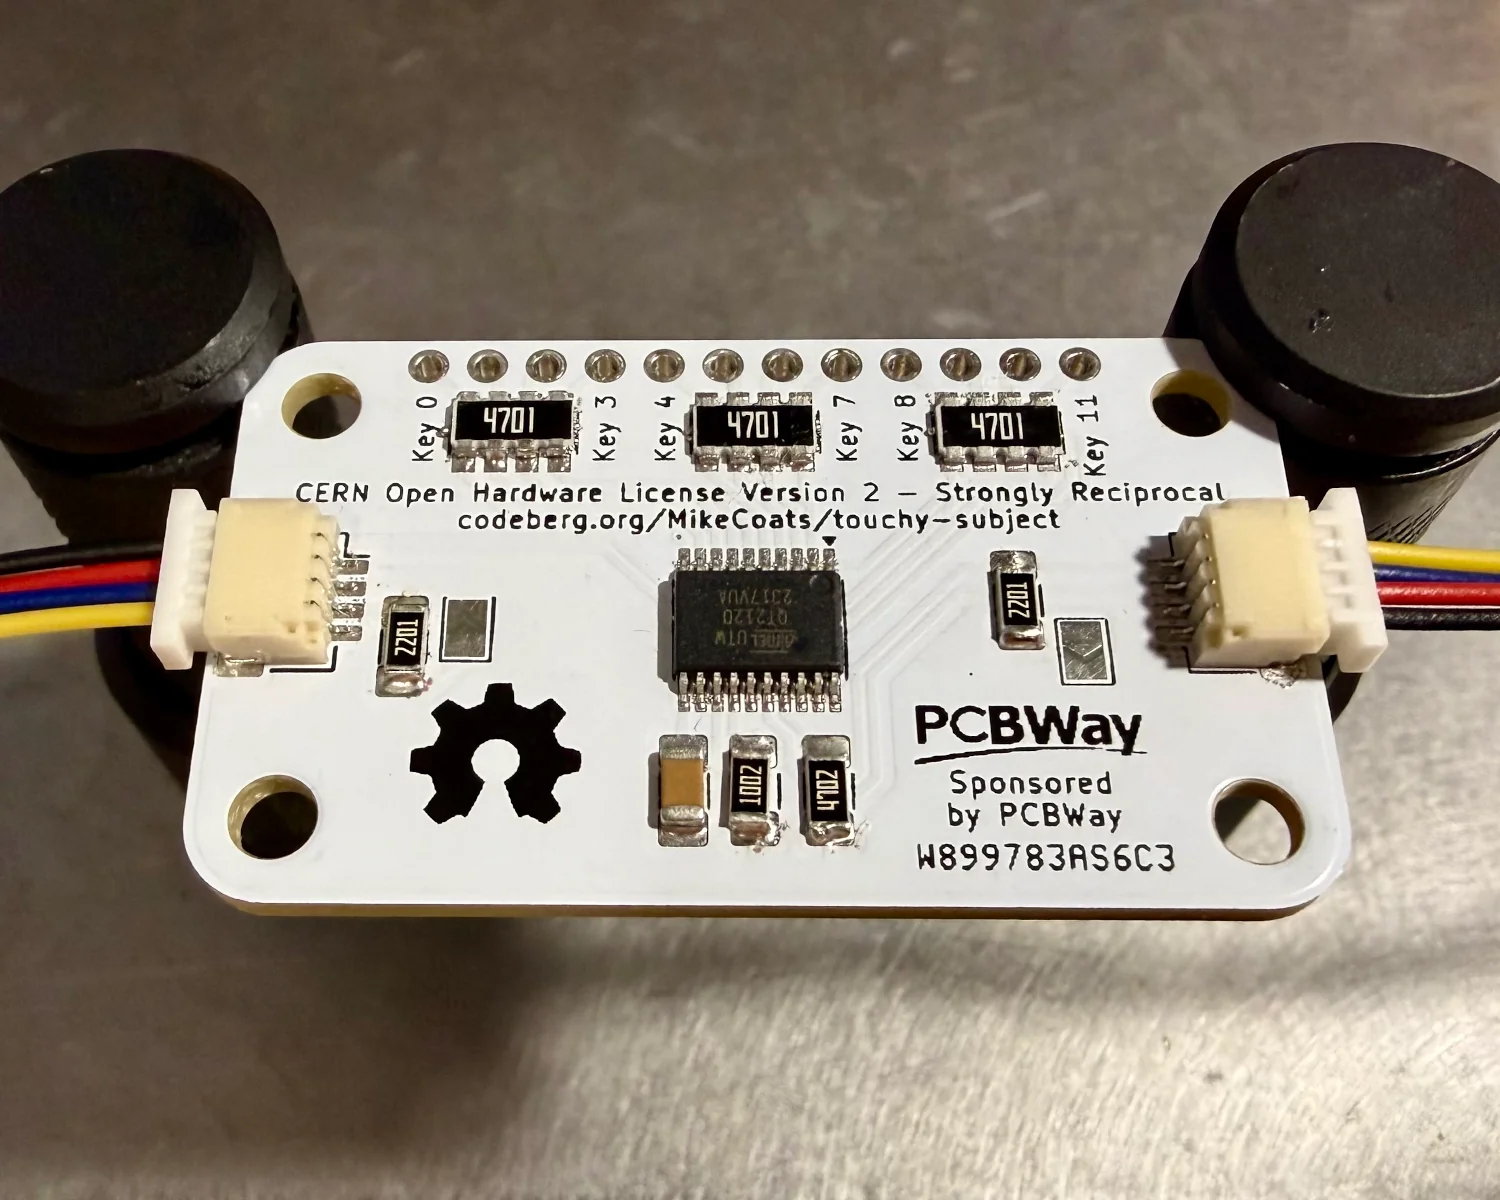
I made a simple test jig with some PCBite clamps, an Adafruit QT Py and a SparkFun Qwiic LED Stick. I used this to confirm the boards were able to respond to requests and pass messages on down the bus for other devices.
Conclusion
So, what did I think of PCBWay💵? In a word, "excellent". Their customer service was exceptional. It's hard to remember, sometimes, that there are real people working behind the flashy websites we visit each day. Emily and the team there were able to answer all my questions and provided plenty of updates as my order progressed.
The boards were of a really high quality, too, with no obvious defects or flaws in the traces, pads or solder mask. UV printing is a revelation for product design. If you can design your PCB such that it's a single-sided load, you can use the UV-printed back of the board as the lid or as part of the case for the whole product.
Would I use them again? In a heartbeat and even if I had to spend my own money to do so.
2025-11-11