Stop the WANPTEK/NANKADF power supply's beeps
The Nankadf (aka Wanptek) WPS3010H power supply is an excellent piece of test equipment to have on the bench. It's cheap, reliable, and it's got a wide range for both voltage and current output.
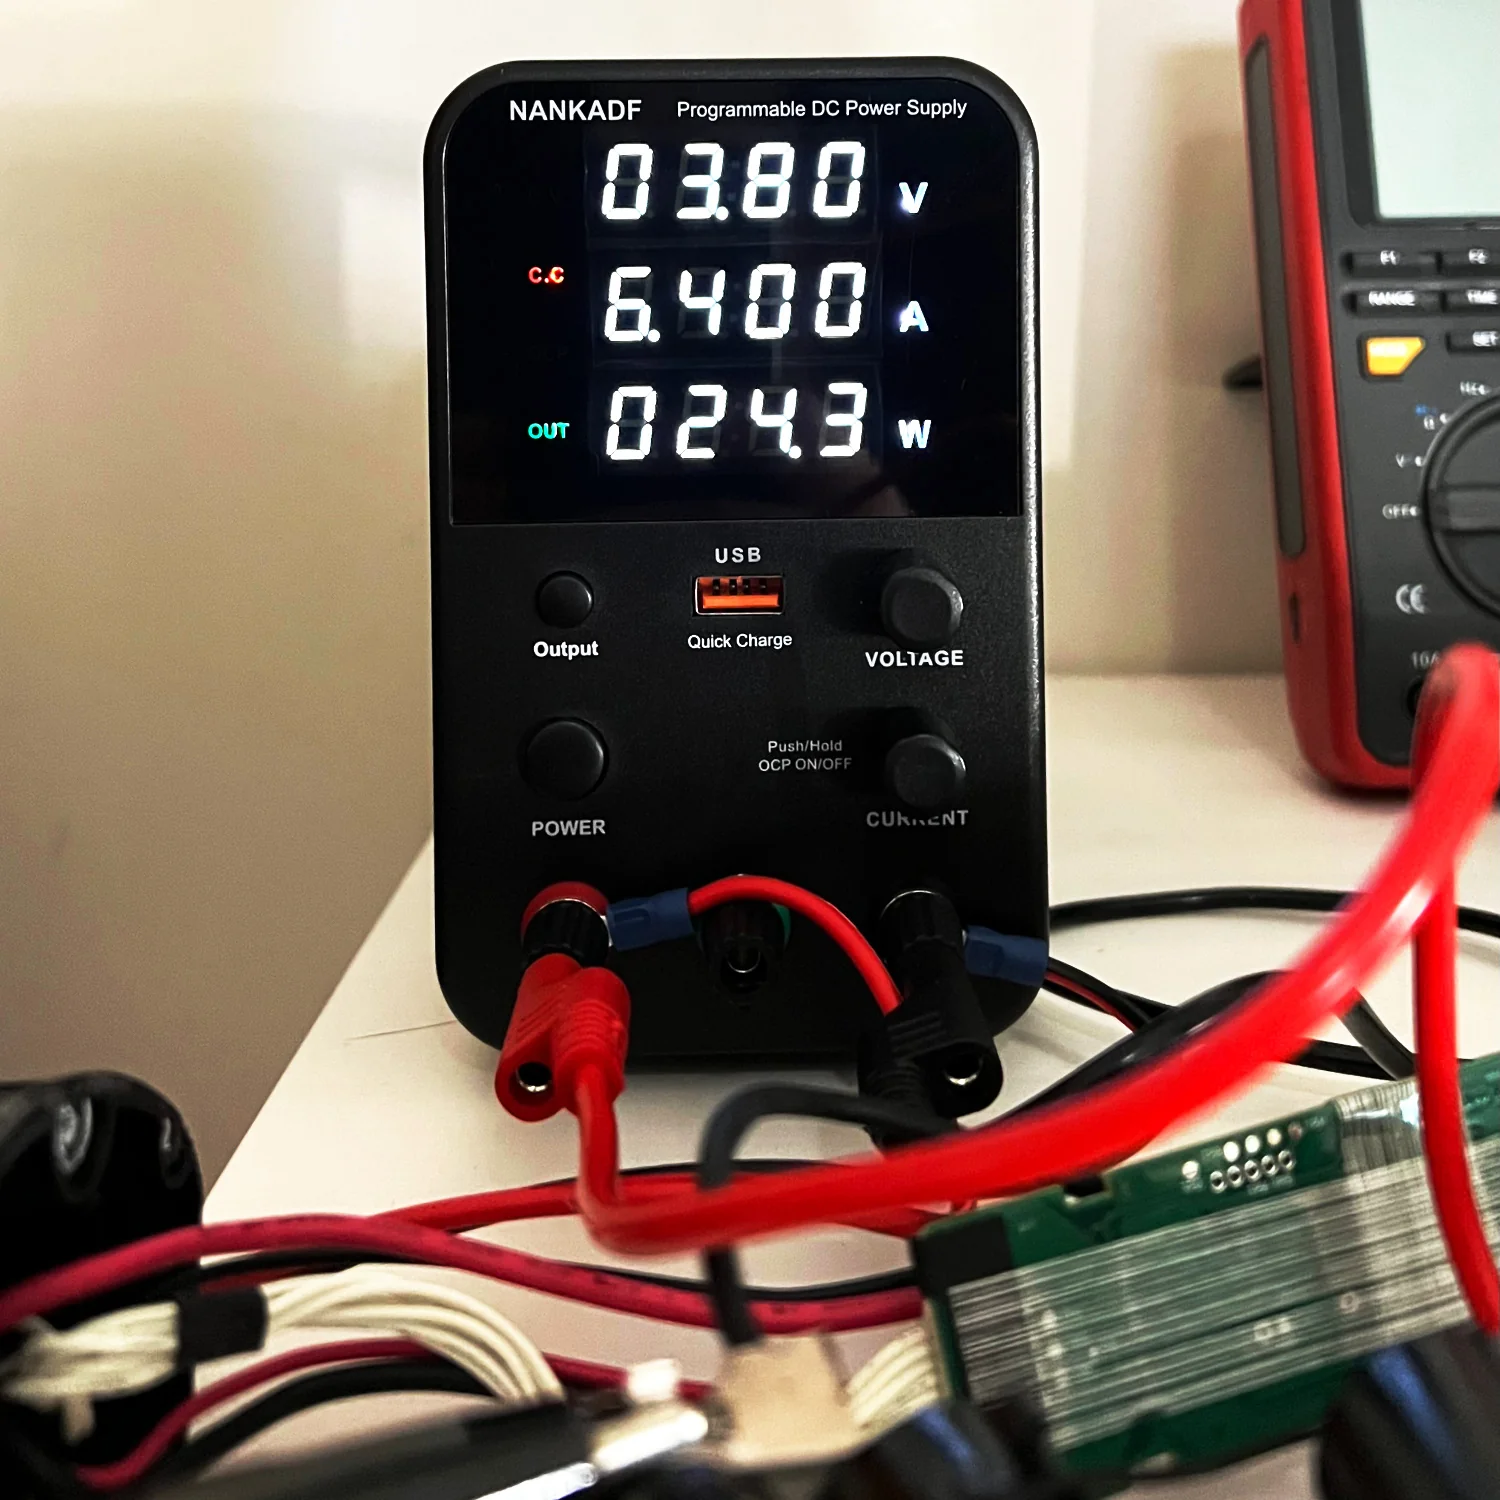
Problem
It does have one fatal flaw; out of the box it beeps on every interaction.
Turn it on? *beep* Reduce the current limit by 0.1 A? *beep* Nudge the voltage up by 0.01 V? *beep*
Solution 1 - Turn off the beeps in the menu
According to the manual for this range of PSUs, we can dive in to the system settings and stop the beeps.
System settings
Press and hold the Output button for 5 seconds to enter the system setting function. According to the needs of use, the machine can be set by default.
The system default setting items include:
[...]
- Buzzer switch.
[...]
After entering the system settings, turn the voltage encoding switch to change the default parameters of the current project; press the voltage encoding switch to the next item, if you have switched to the last item (item 6), click the voltage encoding switch again, the machine will Save the parameters and exit the setting state.
Changing the setting for item 4 from 1 to 0, should turn off the beeps.

This works for all the beeps except for one. The power supply still beeps on start up. Unfortunately, this beep is the longest, and seemingly loudest, noise it makes.
Solution 2 - Remove the beeper from the PSU
Do you really own anything if you don't modify it?
Luckily for us buzzers and beepers are usually large, obvious, and simple to desolder once you find them. Let's tear the power supply down and remove that buzzer!
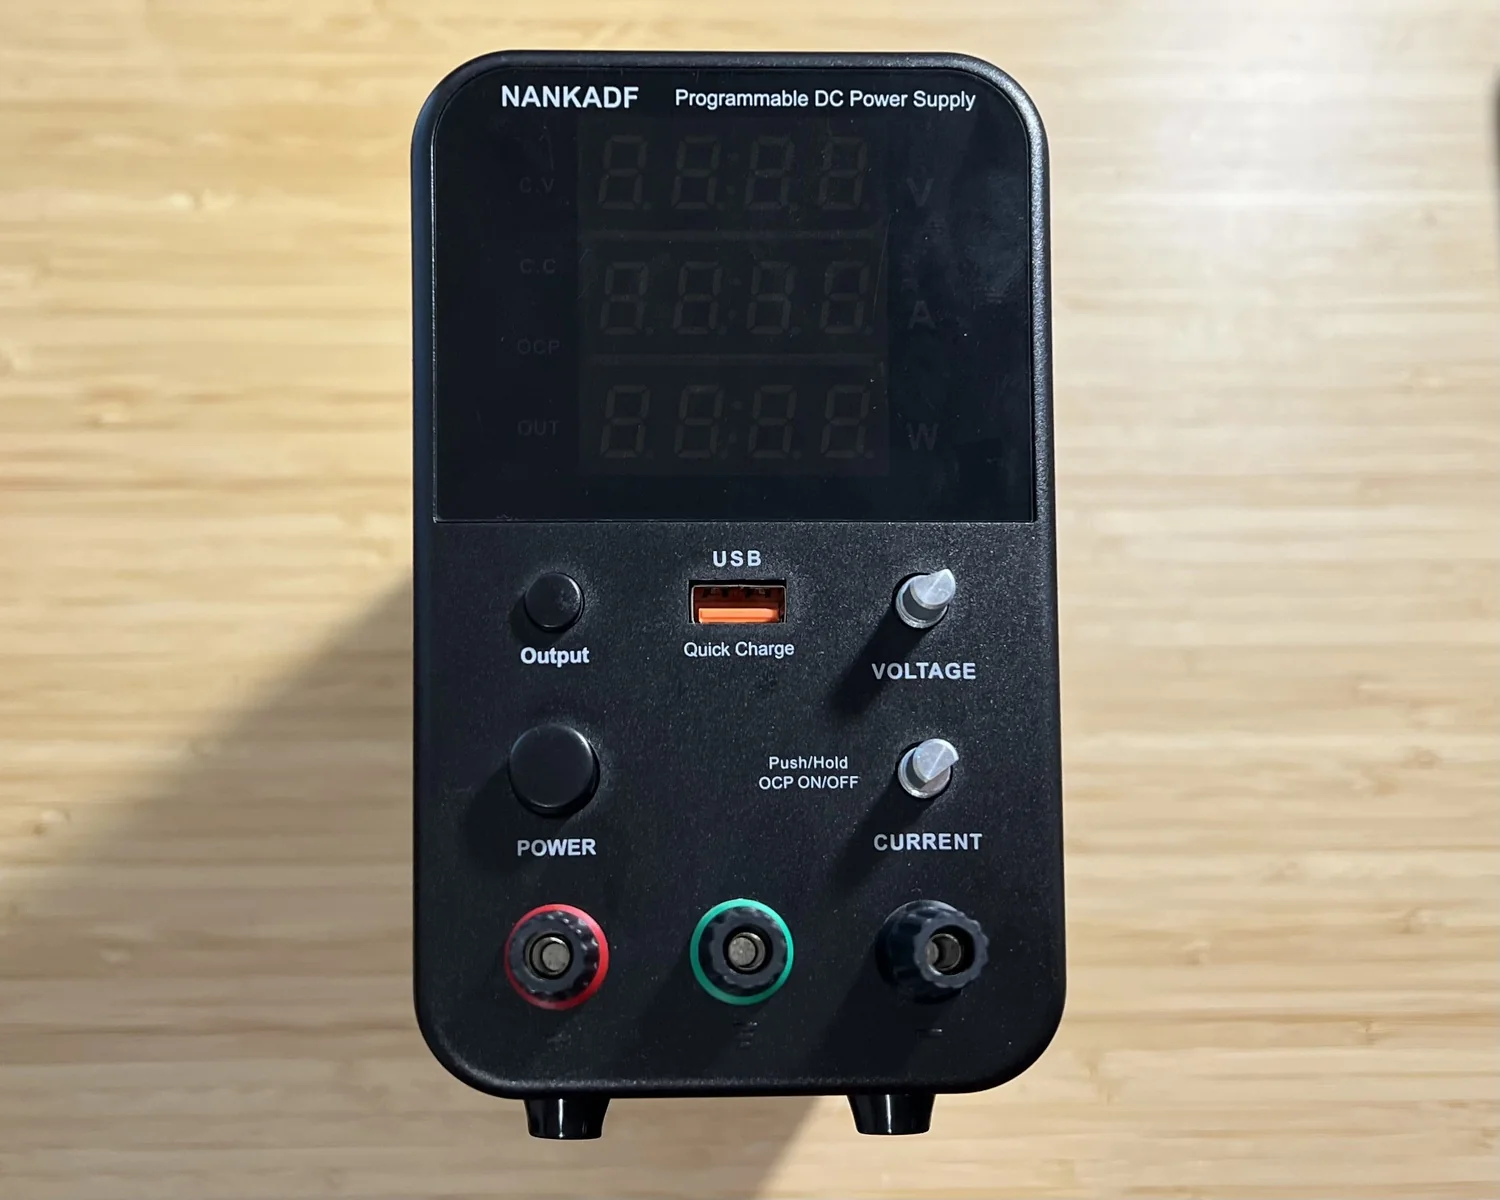
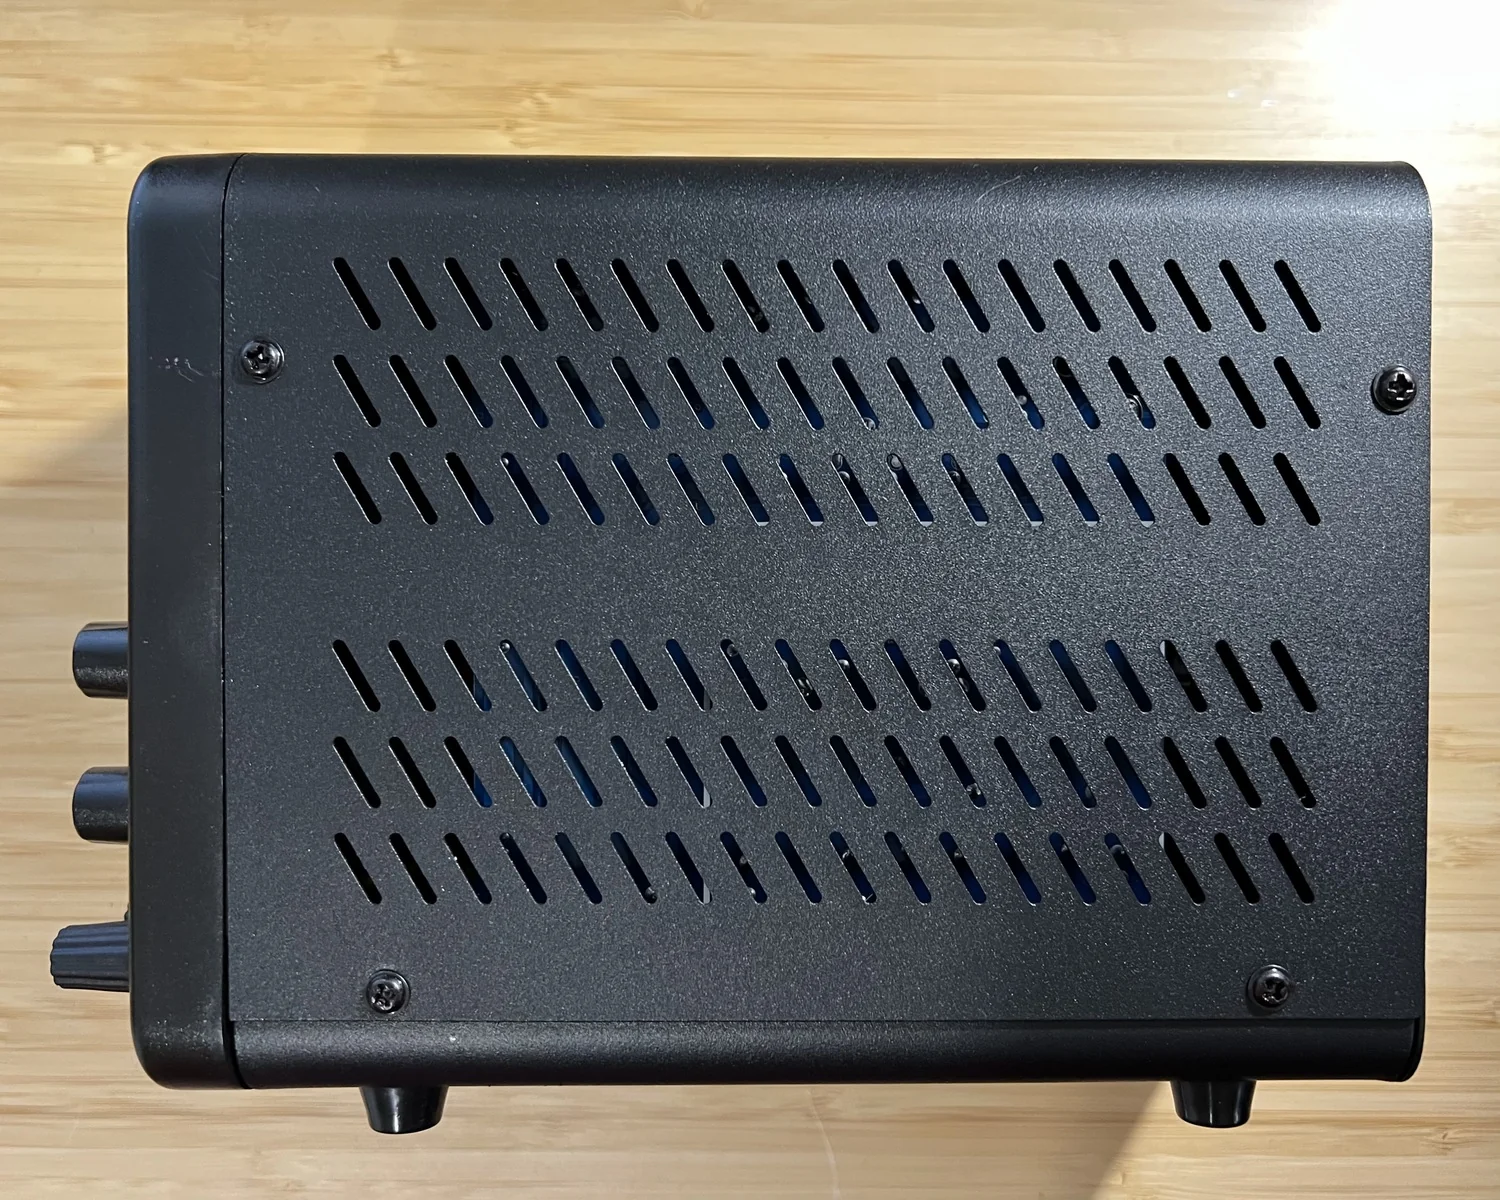
Start by pulling off the two knobs from the voltage and current selectors, then undo the screws holding the metal cover to the body of the supply. You don't need to pay too much attention to which screw came from where, just be aware of the different threads for screwing in to metal vs. plastic.
Once inside, be careful around the circuit boards, particularly the capacitors, since they could still hold enough energy to give you a jolt. Remove two screws from the bottom of the front panel and one from the cross brace and then front panel is loose enough to move around.
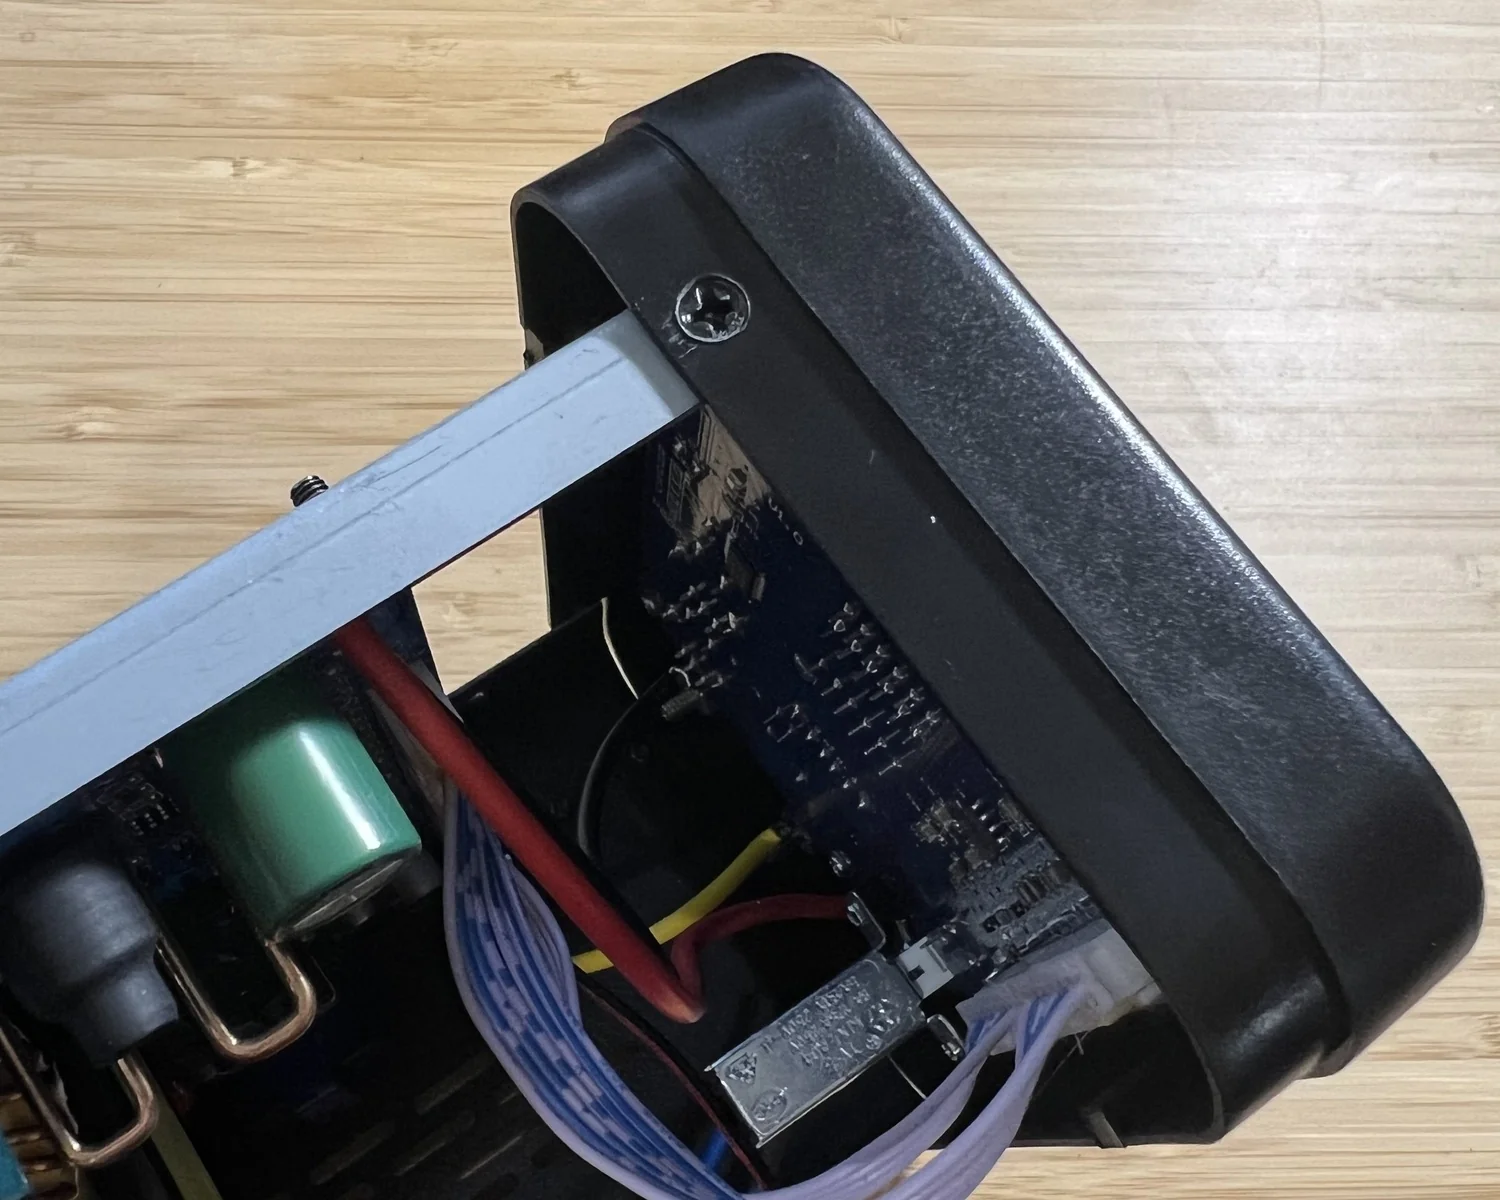
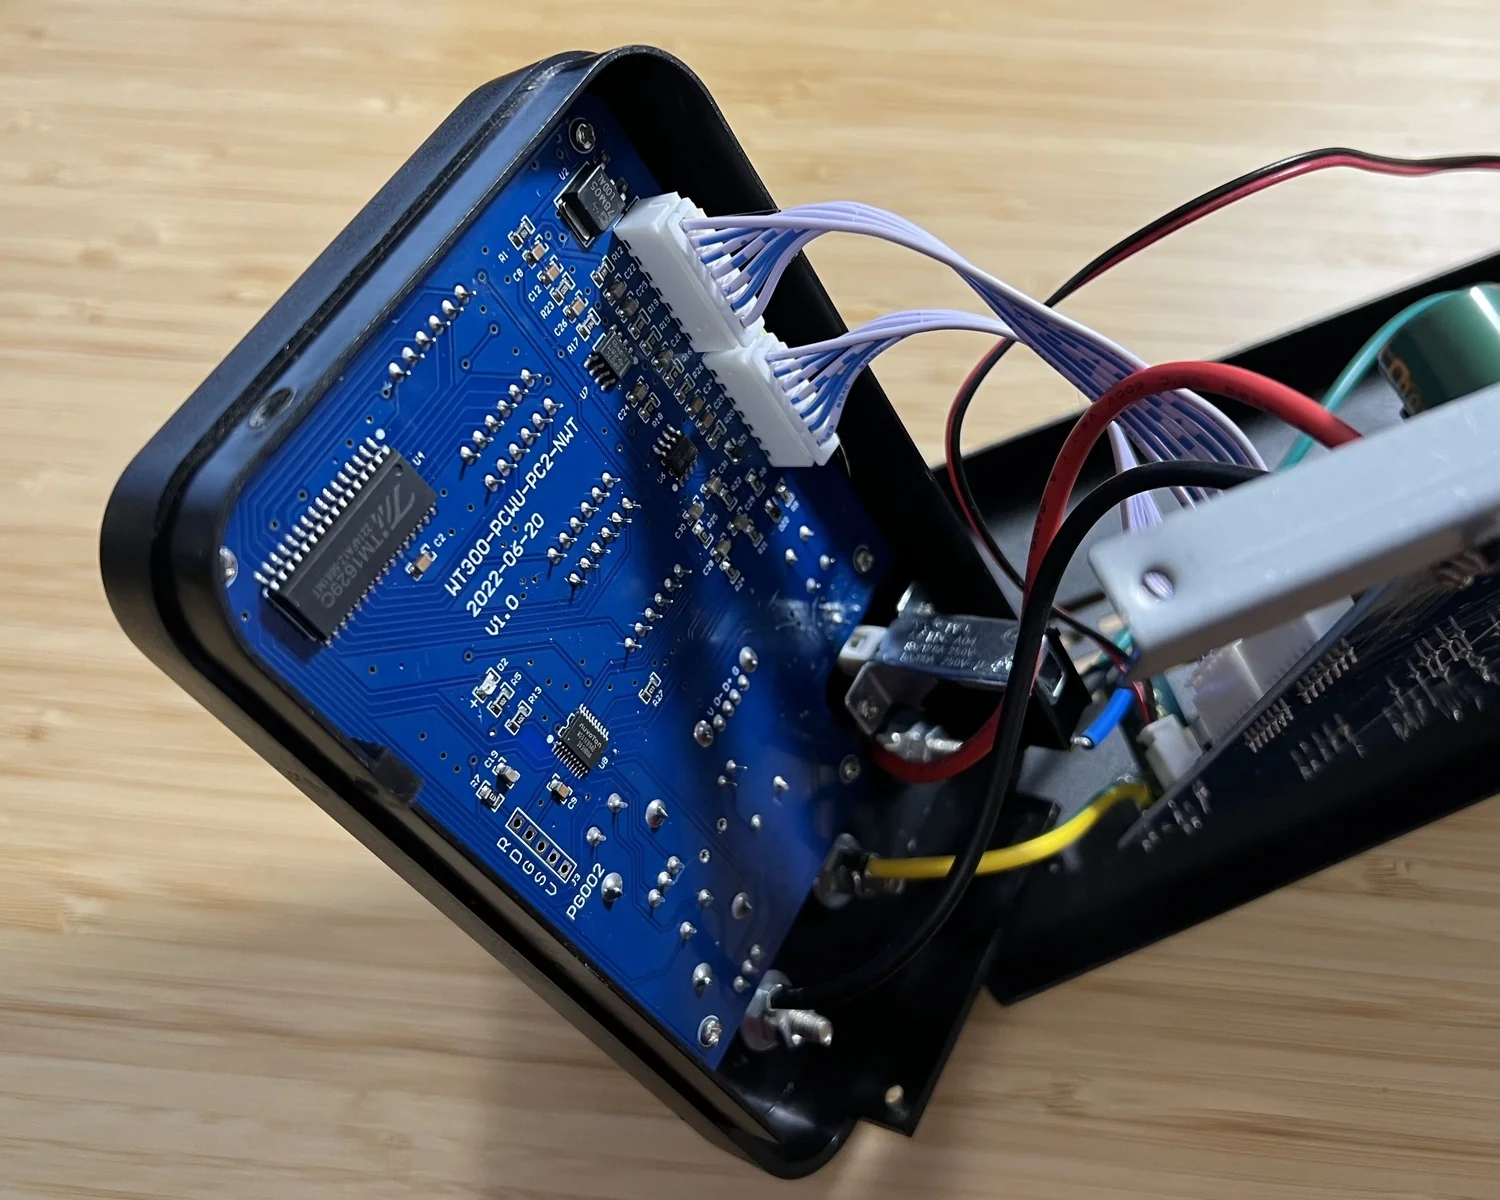
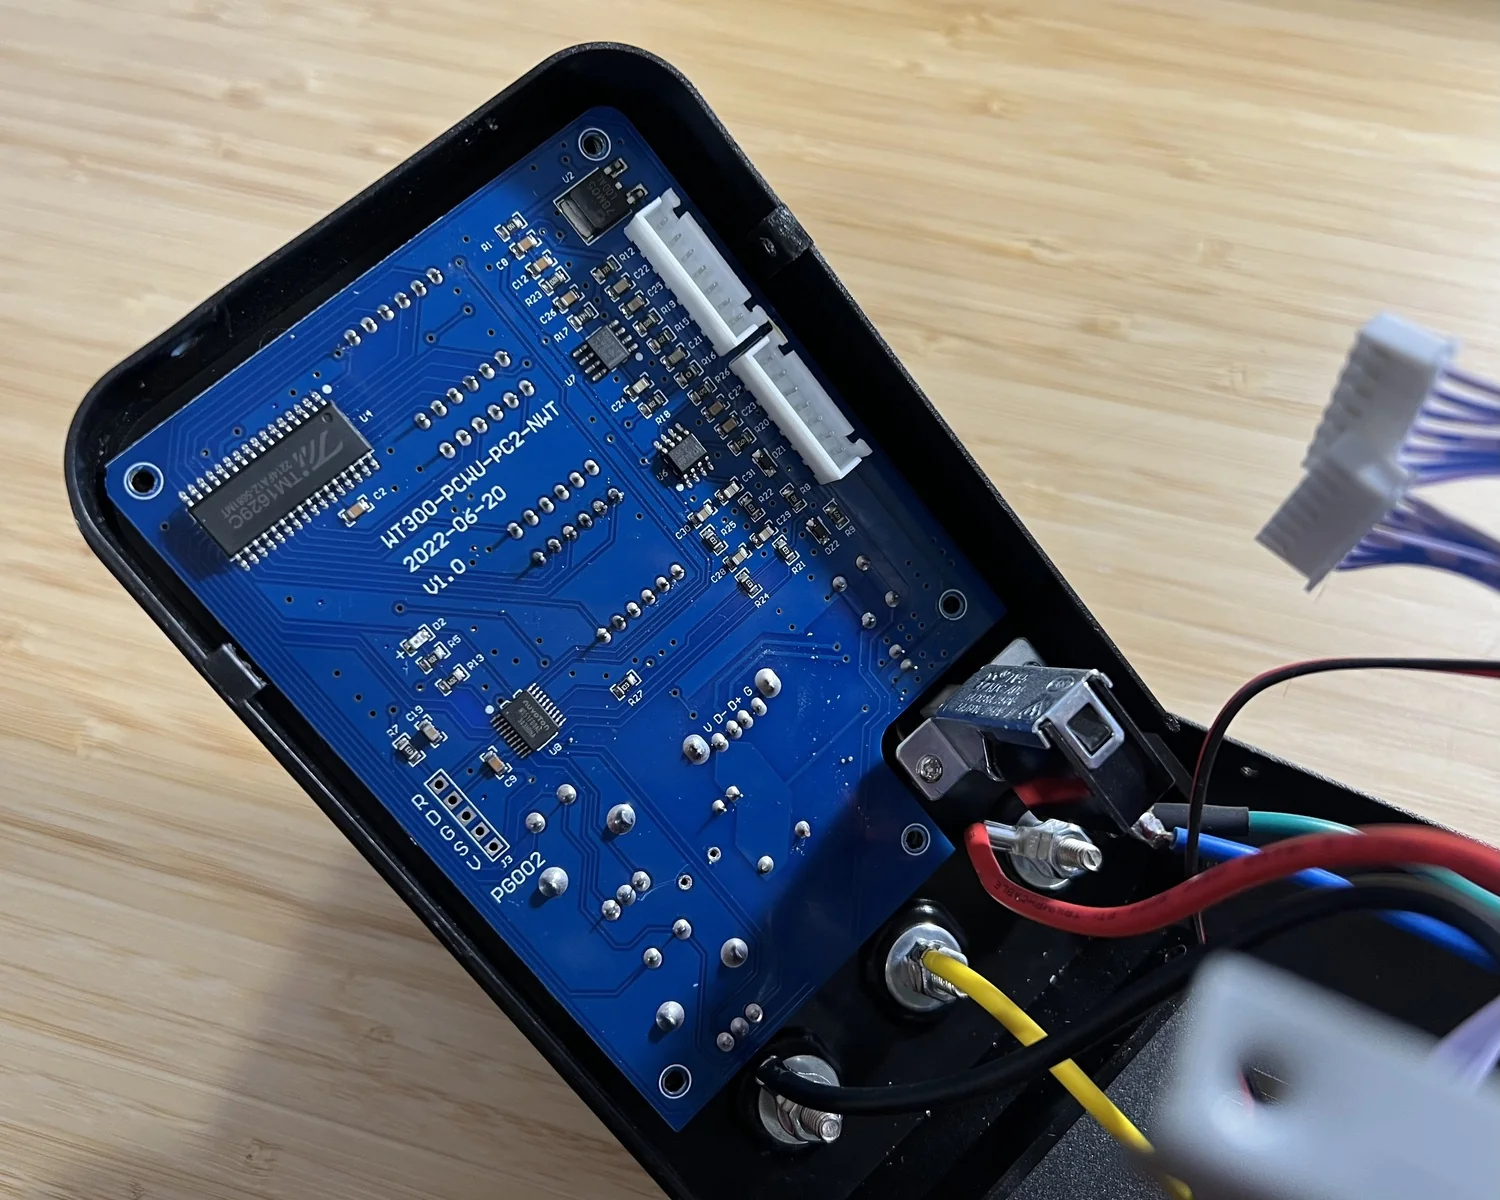
Disconnect the two ribbon cables from the back of the PCB and the five screws circled in white. The control panel PCB can then be removed from the front casing.
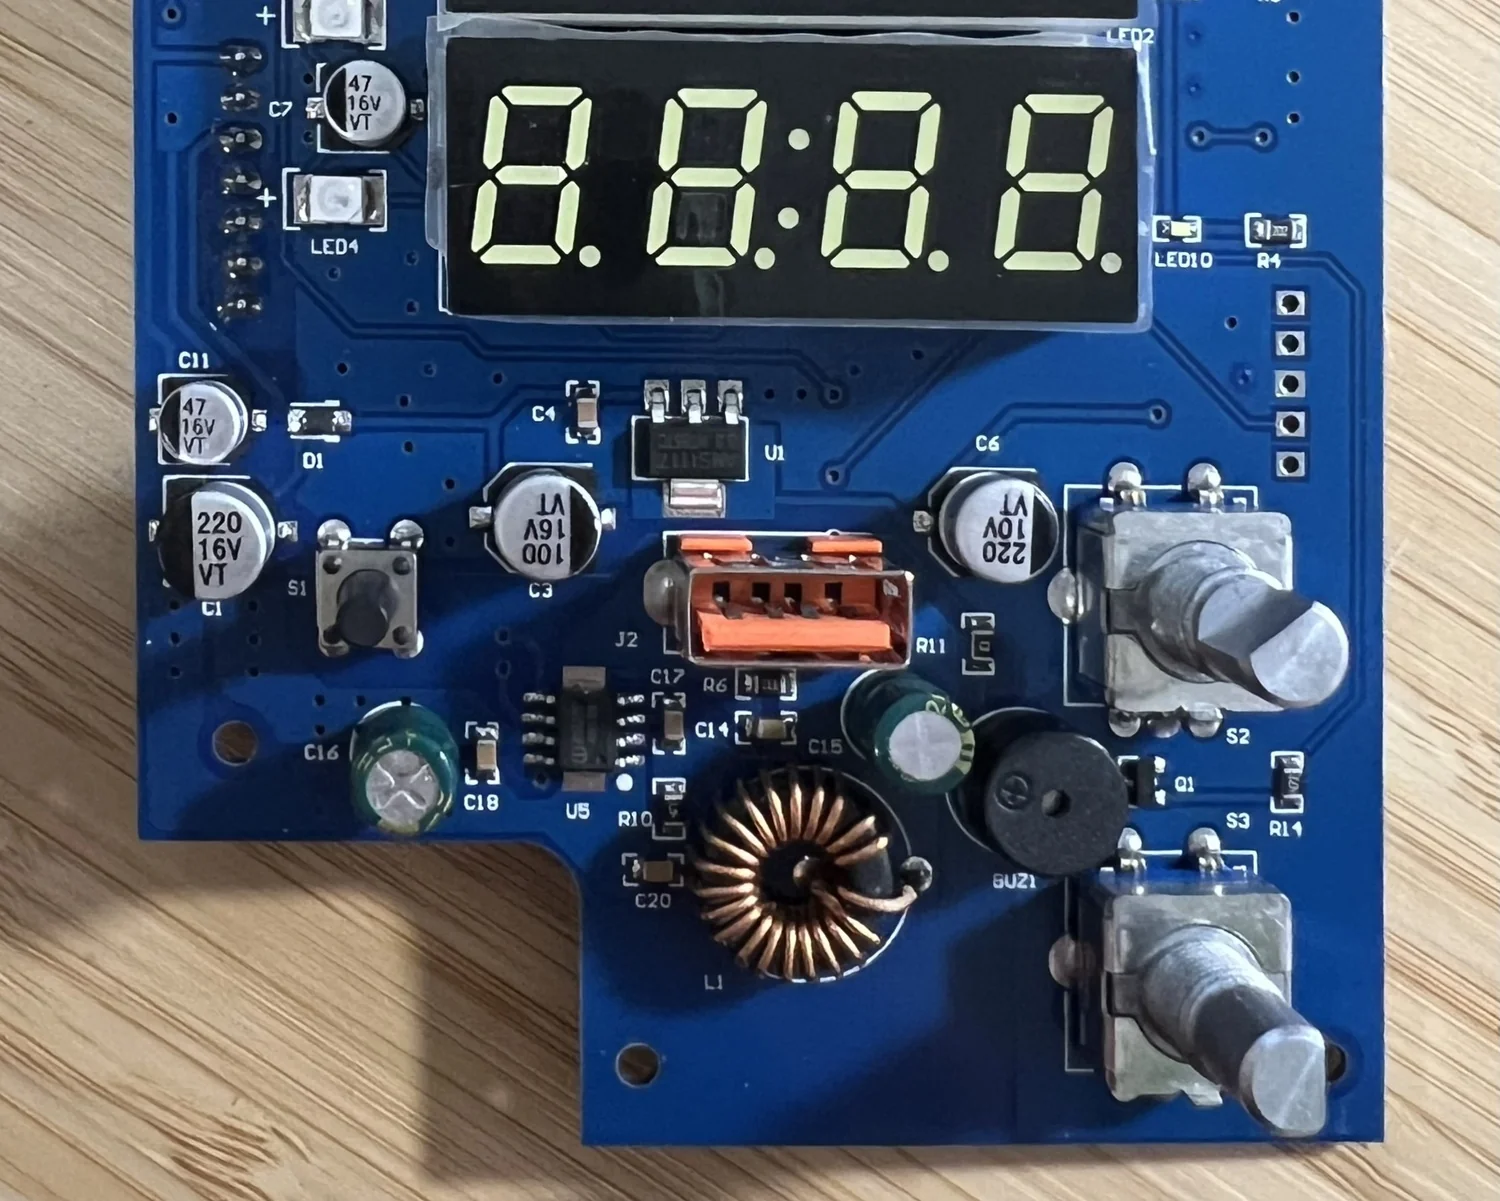
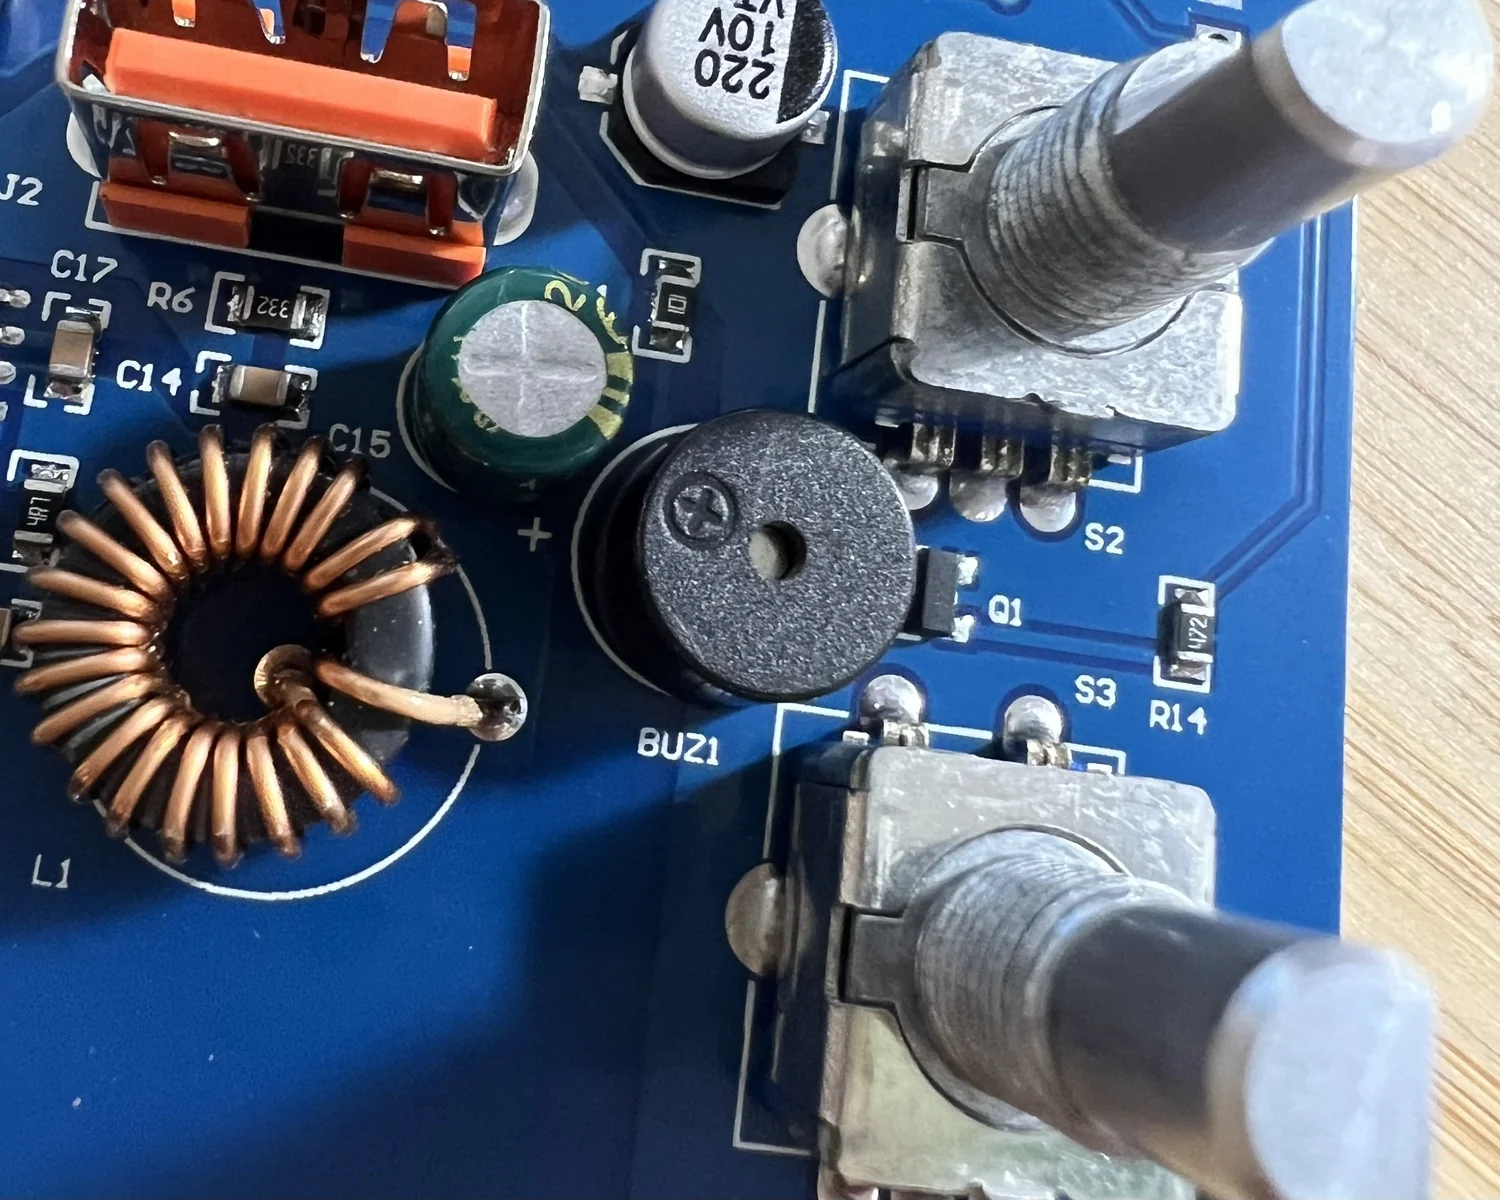
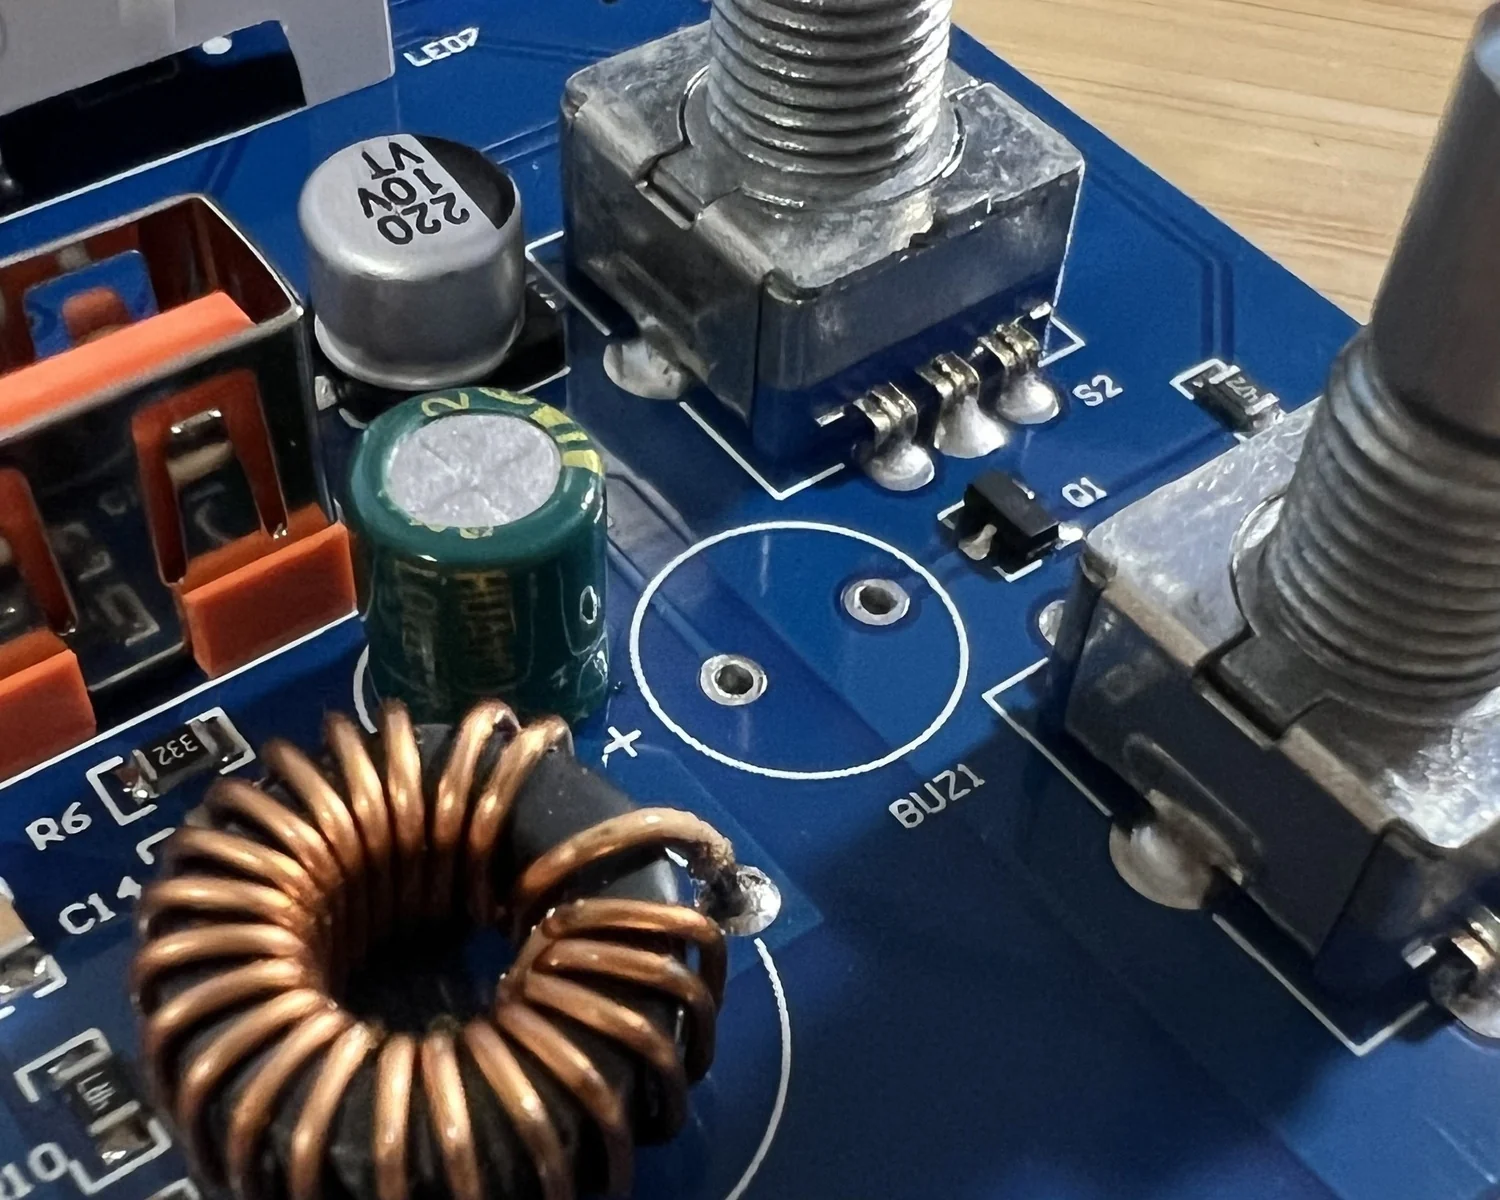
A quick look around the board reveals BUZ1 over by the rotary encoders used for setting the voltage and current. Luckily for us, it's a big through-hole part so desoldering takes just a couple of seconds with a decent iron and a solder sucker.
Re-assembly is just the teardown in reverse! Power it up, test it still works, then bask in the silent bliss of a land without beepers or buzzers.
2025-03-30