Installing CircuitPython on a Freenove ESP32-S3-WROOM CAM Board
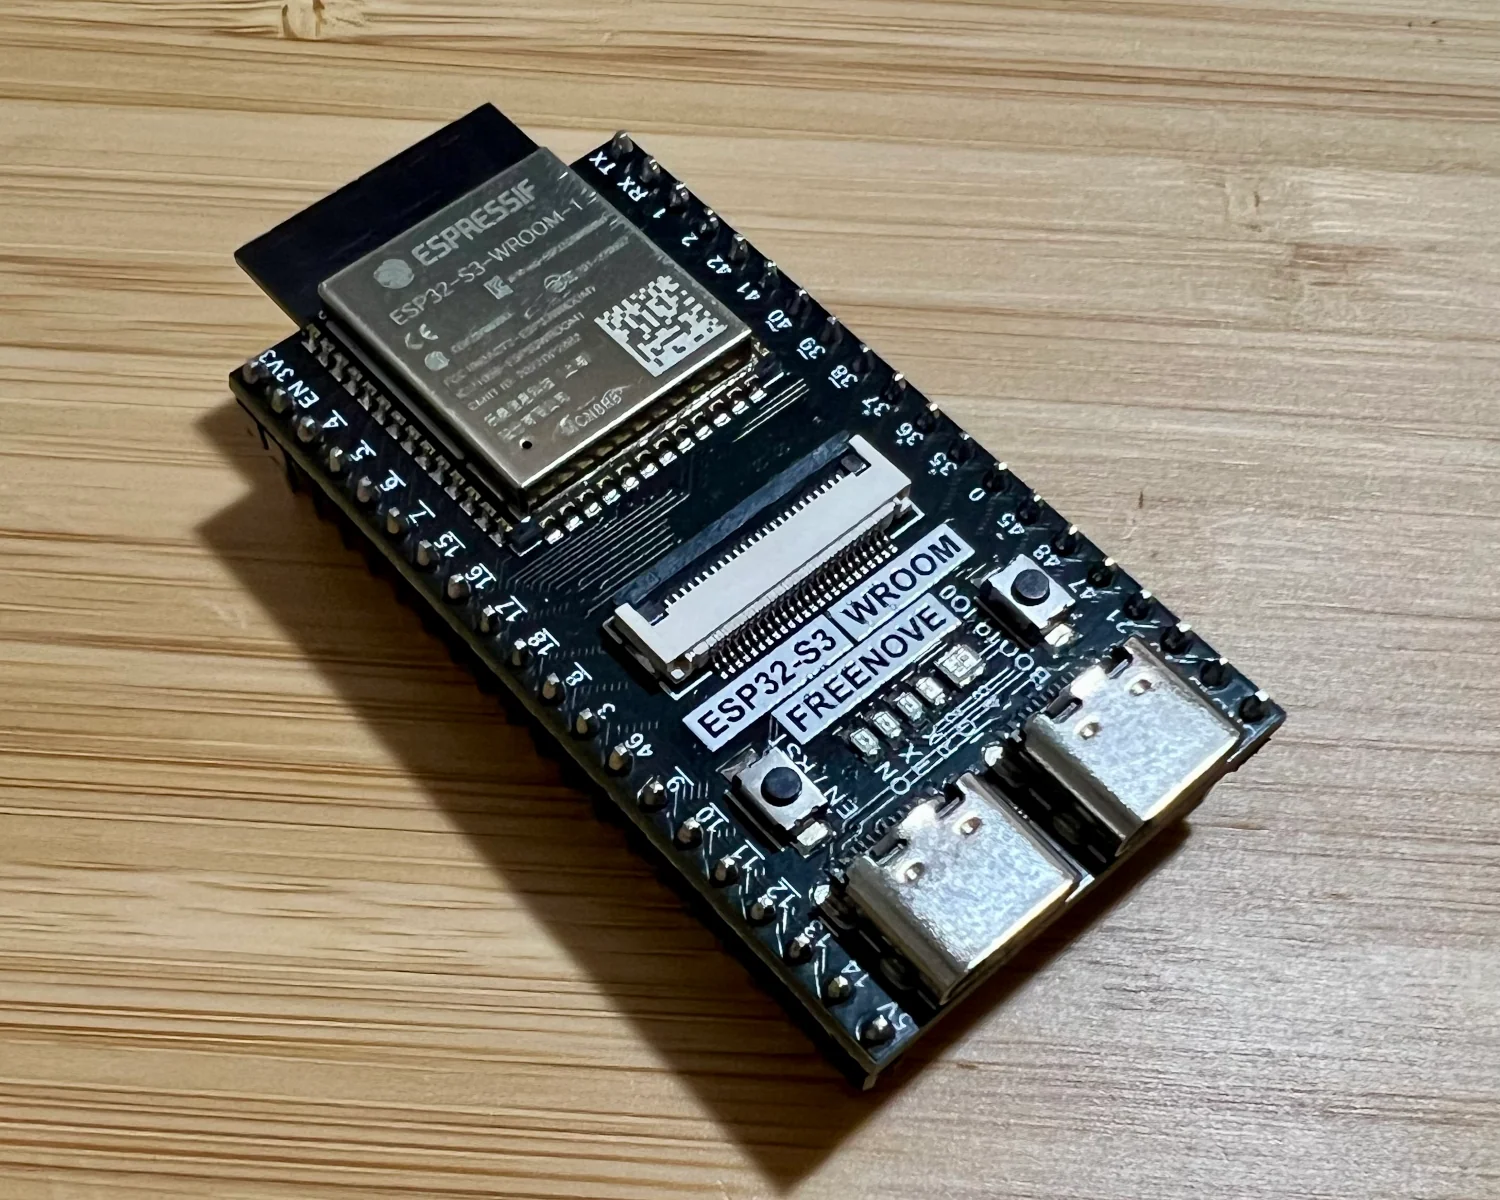
For CircuitPython Day 2025, I wanted to show how I installed CircuitPython on one of my favourite, but unsupported, boards, the Freenove ESP32-S3-WROOM CAM Board. The Freenove board is not officially supported by CircuitPython, but it is possible to install one of the generic devkit builds with a little bit of research.
The ESP32-S3 is a well-supported chip within CircuitPython, with 88 boards officially supported at the time of writing.
Espressif's own ESP32-S3-DevKitC-1 has the right sort of chip and is visually similar to the Freenove board. There are five officially supported CircuitPython builds for the Espressif Devkits, depending on their hardware configuration. If we can find a matching RAM & Flash combination, we should be able to flash that firmware to our Freenove board.
Funnily enough, all the tools we'll be using to flash CircuitPython are themselves written in Python, so we'll install them using the Python package manager pip.
I like to use virtual environments to keep my Python projects isolated from the rest of my system, so here's how I set up my environment, ready to program the Freenove board.
$ mkdir -p ~/projects/circuit-python && cd ~/projects/circuit-python
$ python3 -m venv .venv --prompt=circuit-python
$ . .venv/bin/activate
$ pip install esptool circup mpremote
We'll use esptool to inspect the board and flash the firmware, circup to confirm CircuitPython's installed correctly, and mpremote to interact with the python interpreter running on the board.
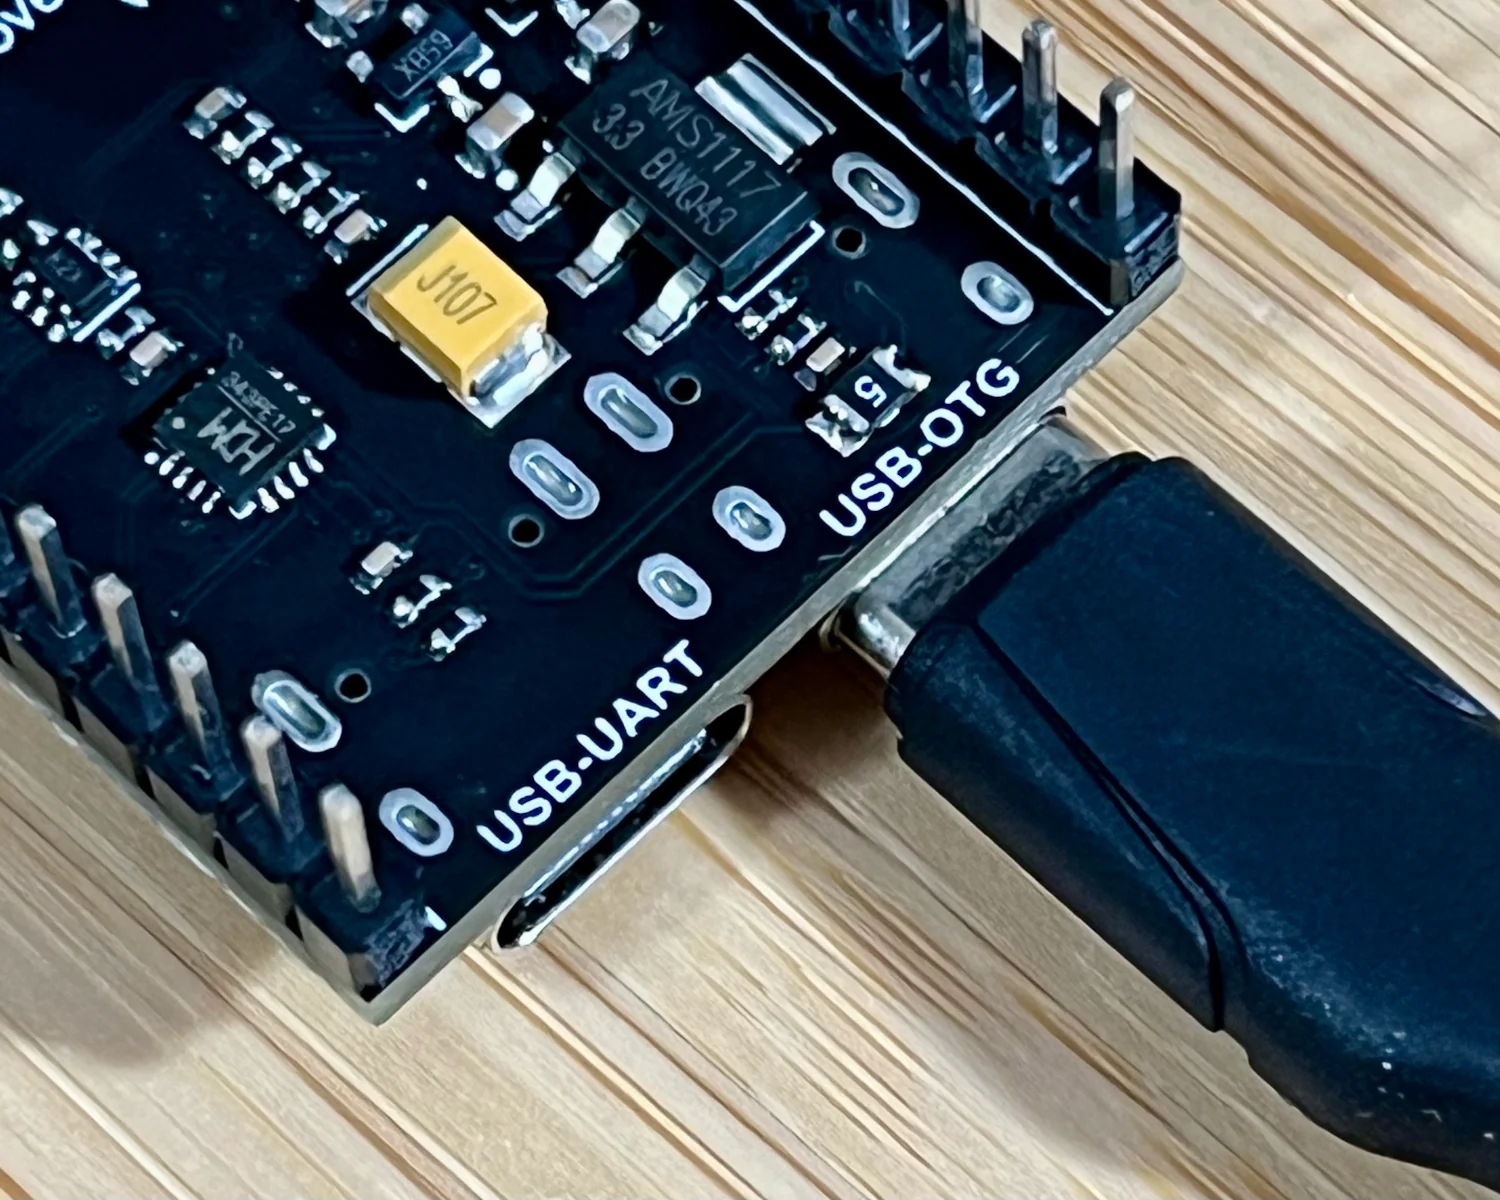
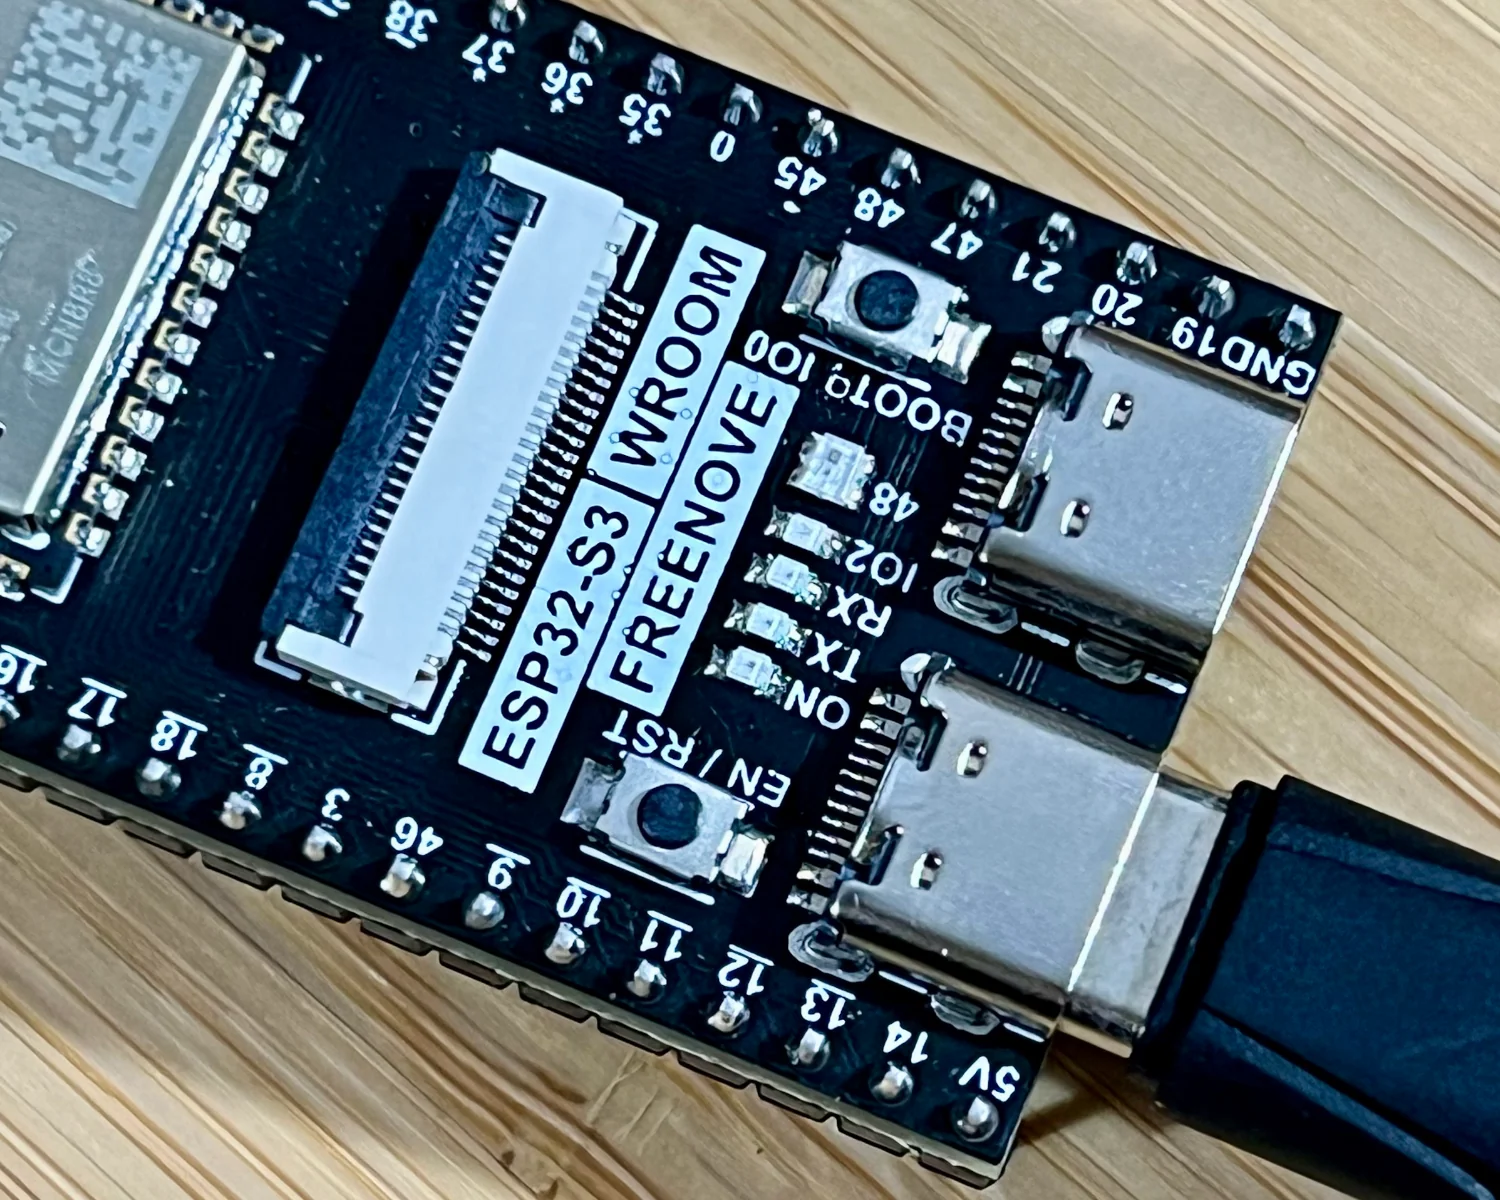
The Freenove board, like the Espressif Devkits have two USB ports. One is connected to a USB/UART adapter, and the other is connected to the ESP32's native USB port. Make sure you're using the native port, labelled USB-OTG, not the USB/UART one, during programming.
To enable the programming interface, hold the boot button while plugging in the USB cable, or hold the boot button and press reset if your board is already connected.
lsusb will confirm that the board is recognised as a programmable device.
$ lsusb
# ...
Bus 001 Device 008: ID 303a:1001 Espressif USB JTAG/serial debug unit
# ...
To determine how the ESP32's USB interface has been detected, we need to look for any ttyUSB or ttyACM devices.
$ ls /dev/tty{USB,ACM}* 2>/dev/null
/dev/ttyACM0
We can now use esptool to inspect the board and flash the firmware.
If you've installed this tool before, please note that the format of its sub-commands has changed between versions 4.x and 5.x.
The flash-id sub-command will reveal the board's Embedded PSRAM size and the detected flash size.
$ esptool -p /dev/ttyACM0 flash-id
esptool v5.0.2
Connected to ESP32-S3 on /dev/ttyACM0:
Chip type:          ESP32-S3 (QFN56) (revision v0.2)
Features:           Wi-Fi, BT 5 (LE), Dual Core + LP Core, 240MHz, Embedded PSRAM 8MB (AP_3v3)
Crystal frequency:  40MHz
USB mode:           USB-Serial/JTAG
MAC:                d8:3b:da:ac:b3:50

Stub flasher running.

Flash Memory Information:
=========================
Manufacturer: c8
Device: 4017
Detected flash size: 8MB
Flash type set in eFuse: quad (4 data lines)
Flash voltage set by eFuse: 3.3V

Hard resetting via RTS pin...
This output tells us that our Freenove board has 8MB of PSRAM and 8MB of flash. Espressif's own ESP32-S3-DevKitC-1-N8R8 seems to be a good match, so let's use that.
This version is equipped with the ESP32-S3-WROOM-1 (PCB antenna) with 8MB Flash and 8MB PSRAM.
At this point, if you're using a Chromium-based web browser, you can make use of the built-in Web Serial API to flash the firmware image to the board directly. All you need to do is follow the instructions on the CircuitPython website and call it a day!
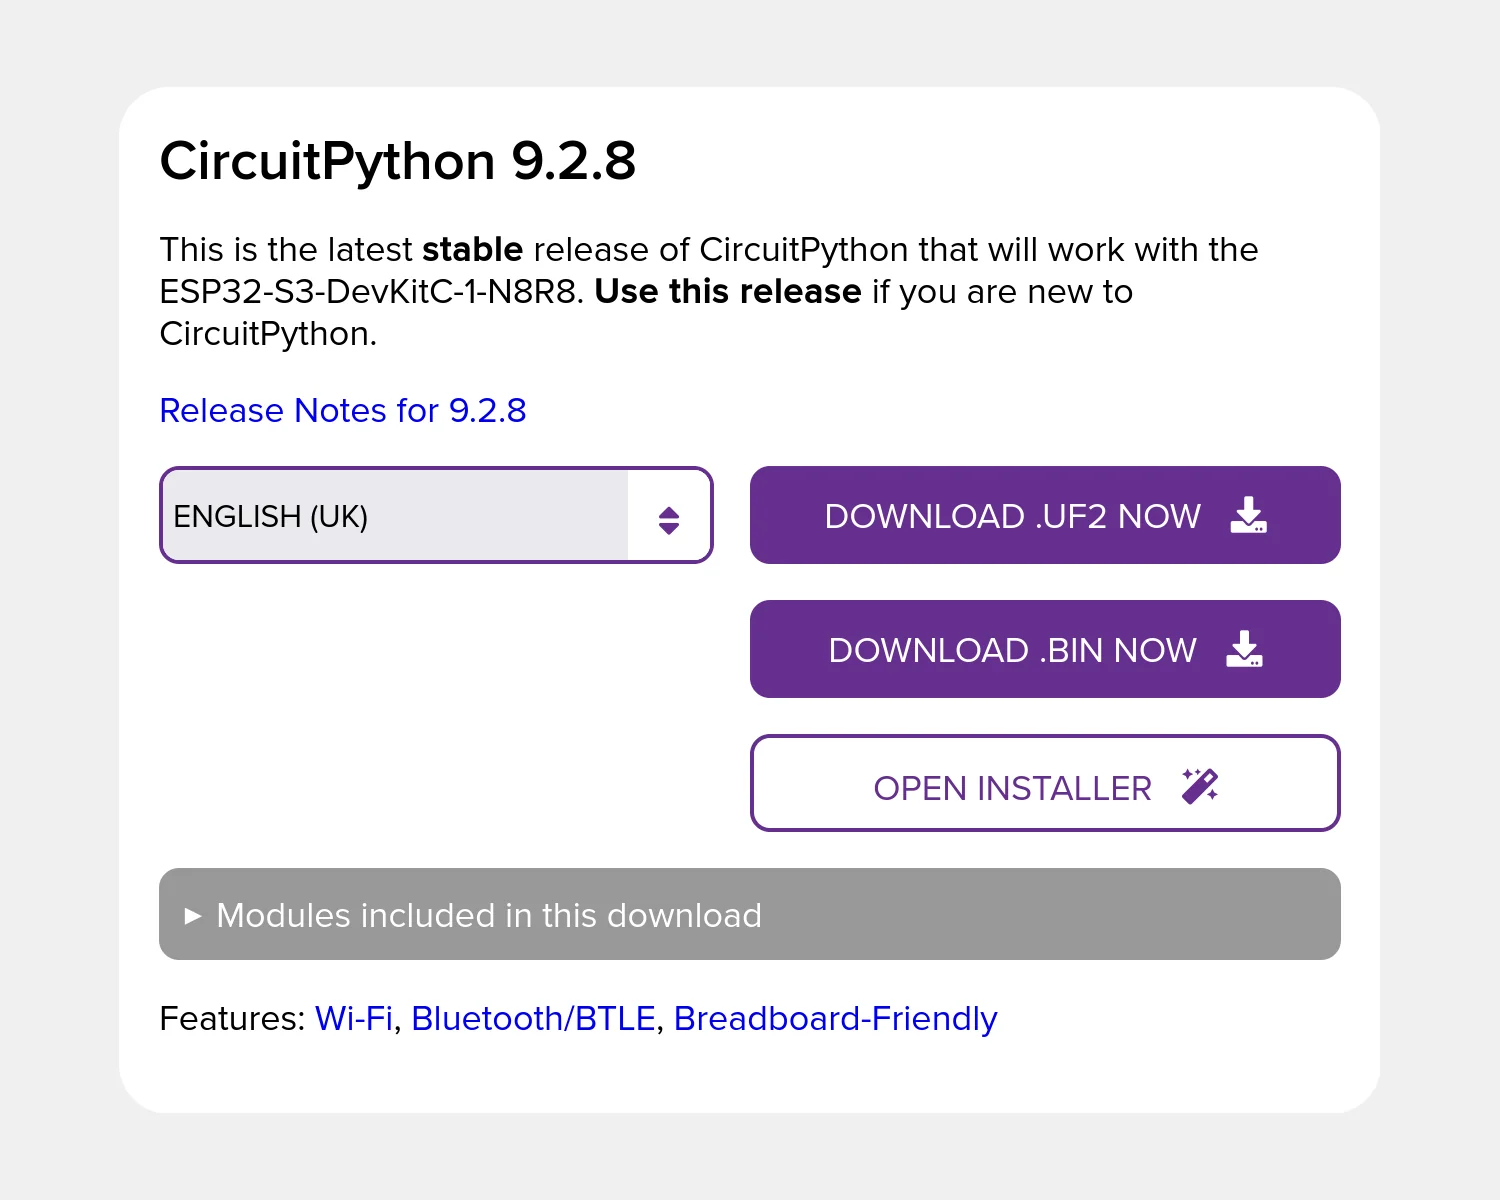

If you're using Firefox or friends, you'll need to download the firmware image and use esptool to flash it.
$ curl -L \
    https://downloads.circuitpython.org/bin/espressif_esp32s3_devkitc_1_n8r8/en_GB/adafruit-circuitpython-espressif_esp32s3_devkitc_1_n8r8-en_GB-9.2.8.bin \
    >adafruit-circuitpython-espressif_esp32s3_devkitc_1_n8r8-en_GB-9.2.8.bin
It's probably not necessary to erase the board before flashing, but I've found that it helps to ensure that the board is in a known state before you really get going.
$ esptool -p /dev/ttyACM0 erase-flash
esptool v5.0.2
Connected to ESP32-S3 on /dev/ttyACM0:
Chip type:          ESP32-S3 (QFN56) (revision v0.2)
Features:           Wi-Fi, BT 5 (LE), Dual Core + LP Core, 240MHz, Embedded PSRAM 8MB (AP_3v3)
Crystal frequency:  40MHz
USB mode:           USB-Serial/JTAG
MAC:                d8:3b:da:ac:b3:50

Stub flasher running.

Flash memory erased successfully in 2.6 seconds.

Hard resetting via RTS pin...
With our board now in a known-good state, we can flash the downloaded CircuitPython firmware.
$ esptool -p /dev/ttyACM0 write-flash 0 adafruit-circuitpython-espressif_esp32s3_devkitc_1_n8r8-en_GB-9.2.8.bin
esptool v5.0.2
Connected to ESP32-S3 on /dev/ttyACM0:
Chip type:          ESP32-S3 (QFN56) (revision v0.2)
Features:           Wi-Fi, BT 5 (LE), Dual Core + LP Core, 240MHz, Embedded PSRAM 8MB (AP_3v3)
Crystal frequency:  40MHz
USB mode:           USB-Serial/JTAG
MAC:                d8:3b:da:ac:b3:50

Stub flasher running.

Configuring flash size...
Flash will be erased from 0x00000000 to 0x001bafff...
Wrote 1811728 bytes (1201710 compressed) at 0x00000000 in 11.0 seconds (1320.2 kbit/s).
Hash of data verified.

Hard resetting via RTS pin...
Press the reset button on the board to reboot into our newly flashed CircuitPython firmware. Once it restarts, we can check to see that it's running our chosen "N8R8" Espressif Devkit firmware.
$ lsusb
# ...
Bus 001 Device 010: ID 303a:7003 Espressif ESP32-S3-DevKitC-1-N8R8
# ...
One of CircuitPython's most attractive features is how the device appears as a USB storage device, reloading your Python source files every time you save them. All the tools in the CircuitPython ecosystem are designed to work with this approach, so make sure you mount the device to give them access.
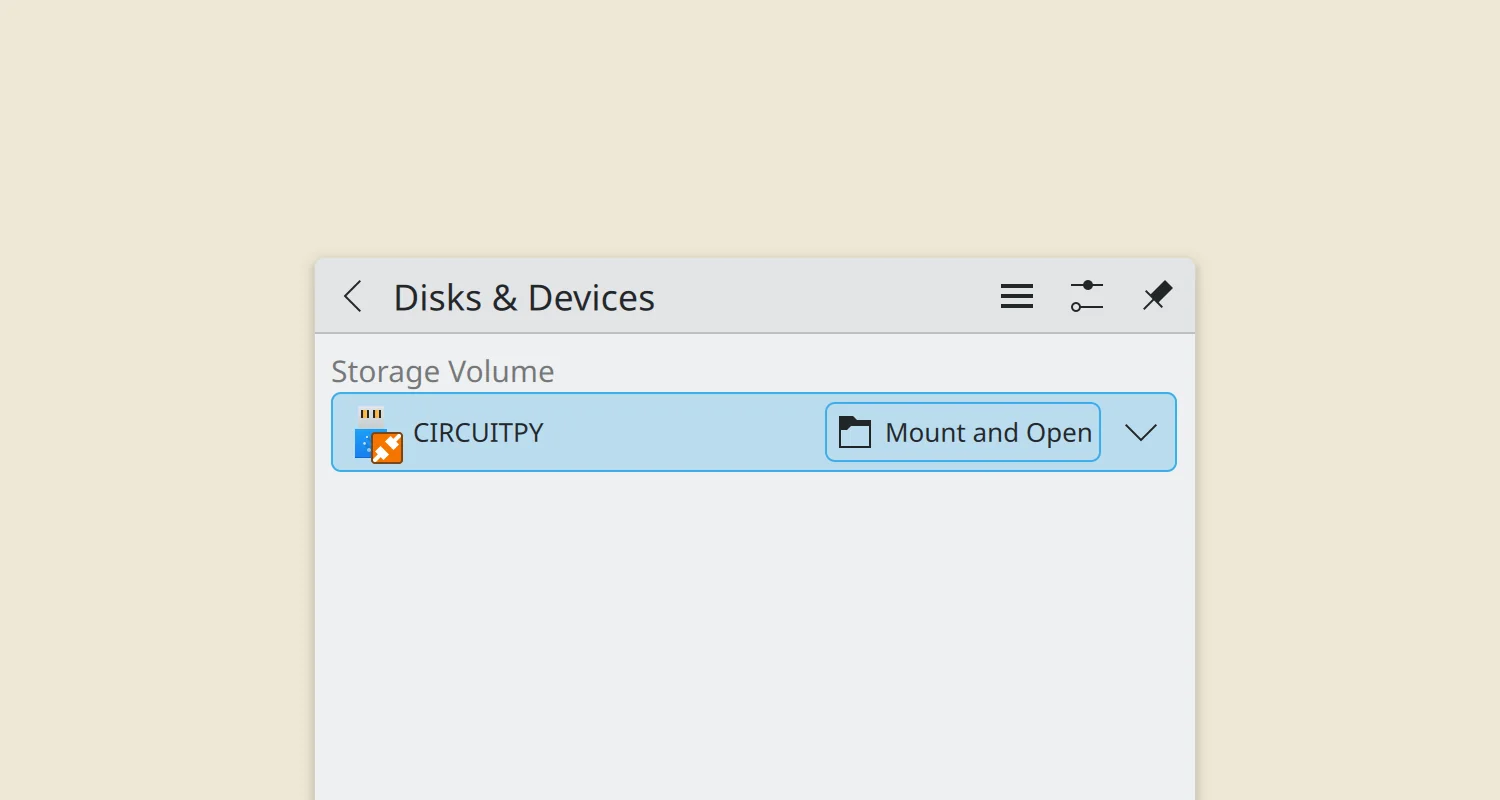
With the device mounted, we can use circup to confirm that CircuitPython is installed correctly, inspecting and updating the modules installed on the device.
$ circup list
Found device espressif_esp32s3_devkitc_1_n8r8 at /media/mike/CIRCUITPY, running CircuitPython 9.2.8.
All modules found on the device are up to date.
The mpremote tool connects to the Python interpreter running on the board and gives you access to the REPL to do some interactive coding.
$ mpremote
Connected to MicroPython at /dev/ttyACM0
Use Ctrl-] or Ctrl-x to exit this shell
Auto-reload is on. Simply save files over USB to run them or enter REPL to disable.

Press any key to enter the REPL. Use CTRL-D to reload.

Adafruit CircuitPython 9.2.8 on 2025-05-28; ESP32-S3-DevKitC-1-N8R8 with ESP32S3
>>> print("Hello, CircuitPython!")
Hello, CircuitPython!
>>>
With CircuitPython successfully installed and running, you can now start coding. Standard libraries include support for i2c, NeoPixels and capacitive touch sensors, so fun and interesting projects are just a quick hack away!
2025-08-15